Description
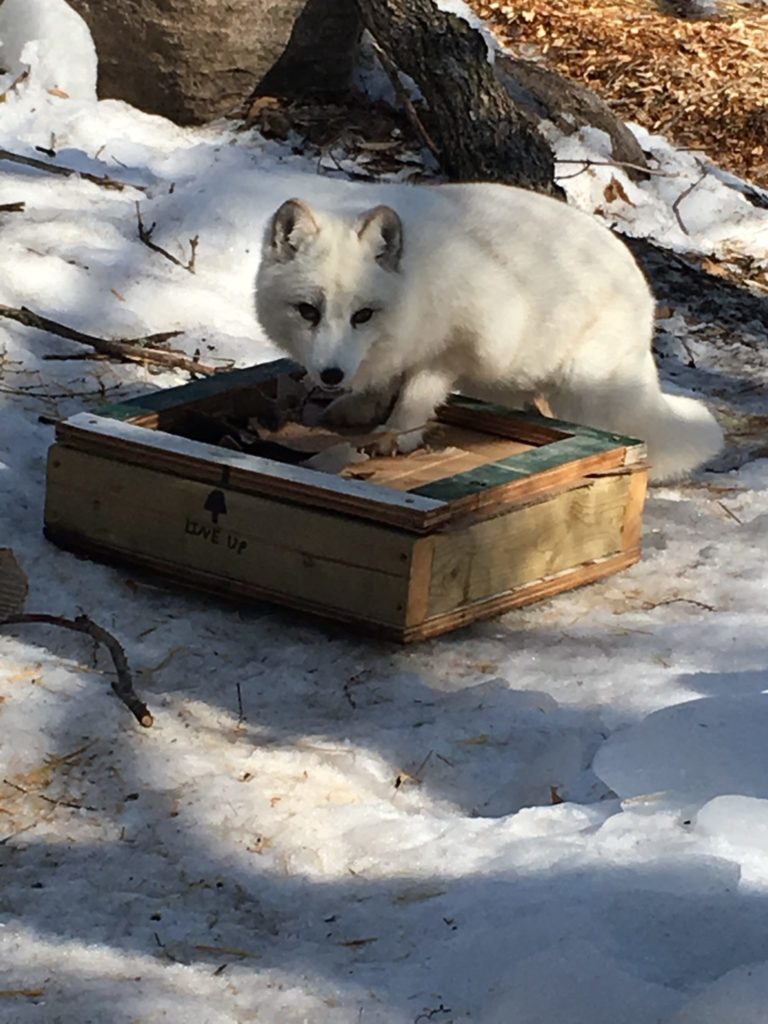
Have you been looking for a way to simulate digging in a small mammal like a fox or a meerkat? Look no farther then this easy to build reusable wooden dig box! This wooden dig box is very easy to make using only plywood and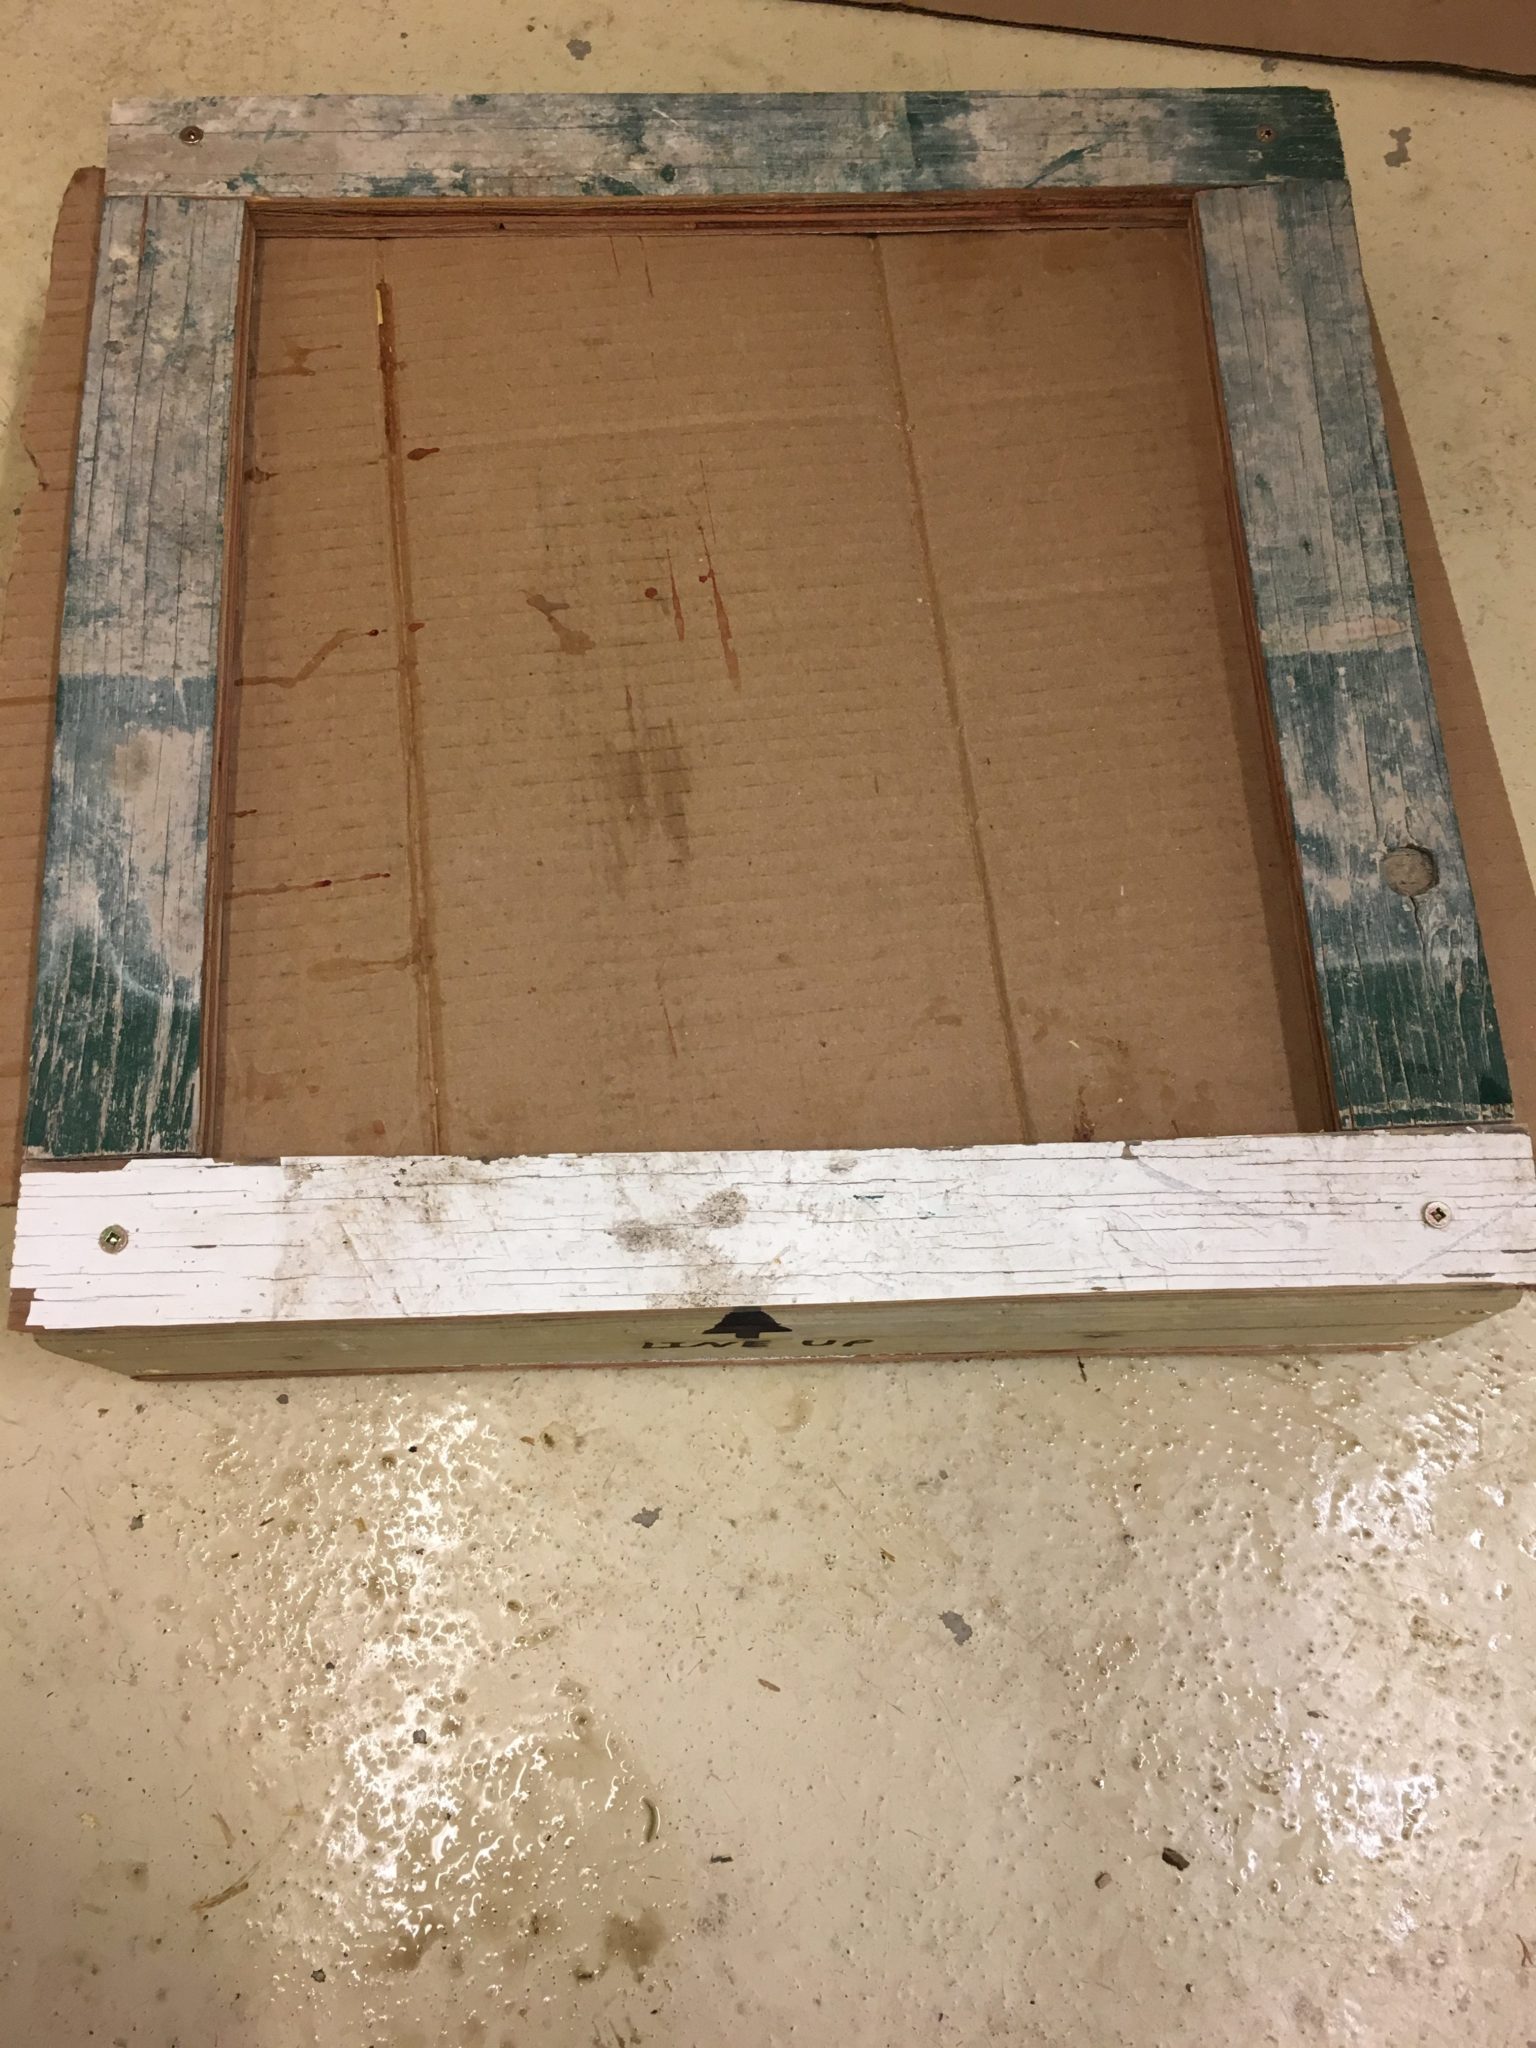 a 2″x4″ with basic tools. It features a removable lid that acts as a “frame” for a cardboard or whatever substrate you want the animal to try and dig through. This frame can be easily removed allowing you to put food items and enrichment items inside for the animal to find. This project is also a great way to brush up on some carpentry skills while your at it!
Building Materials
- Sheet of plywood
- 1 2″x4″
- Screws
- Drill and Drill bits
- Circular saw
- Jig saw (Optional)
- Tape measure
Building Steps 
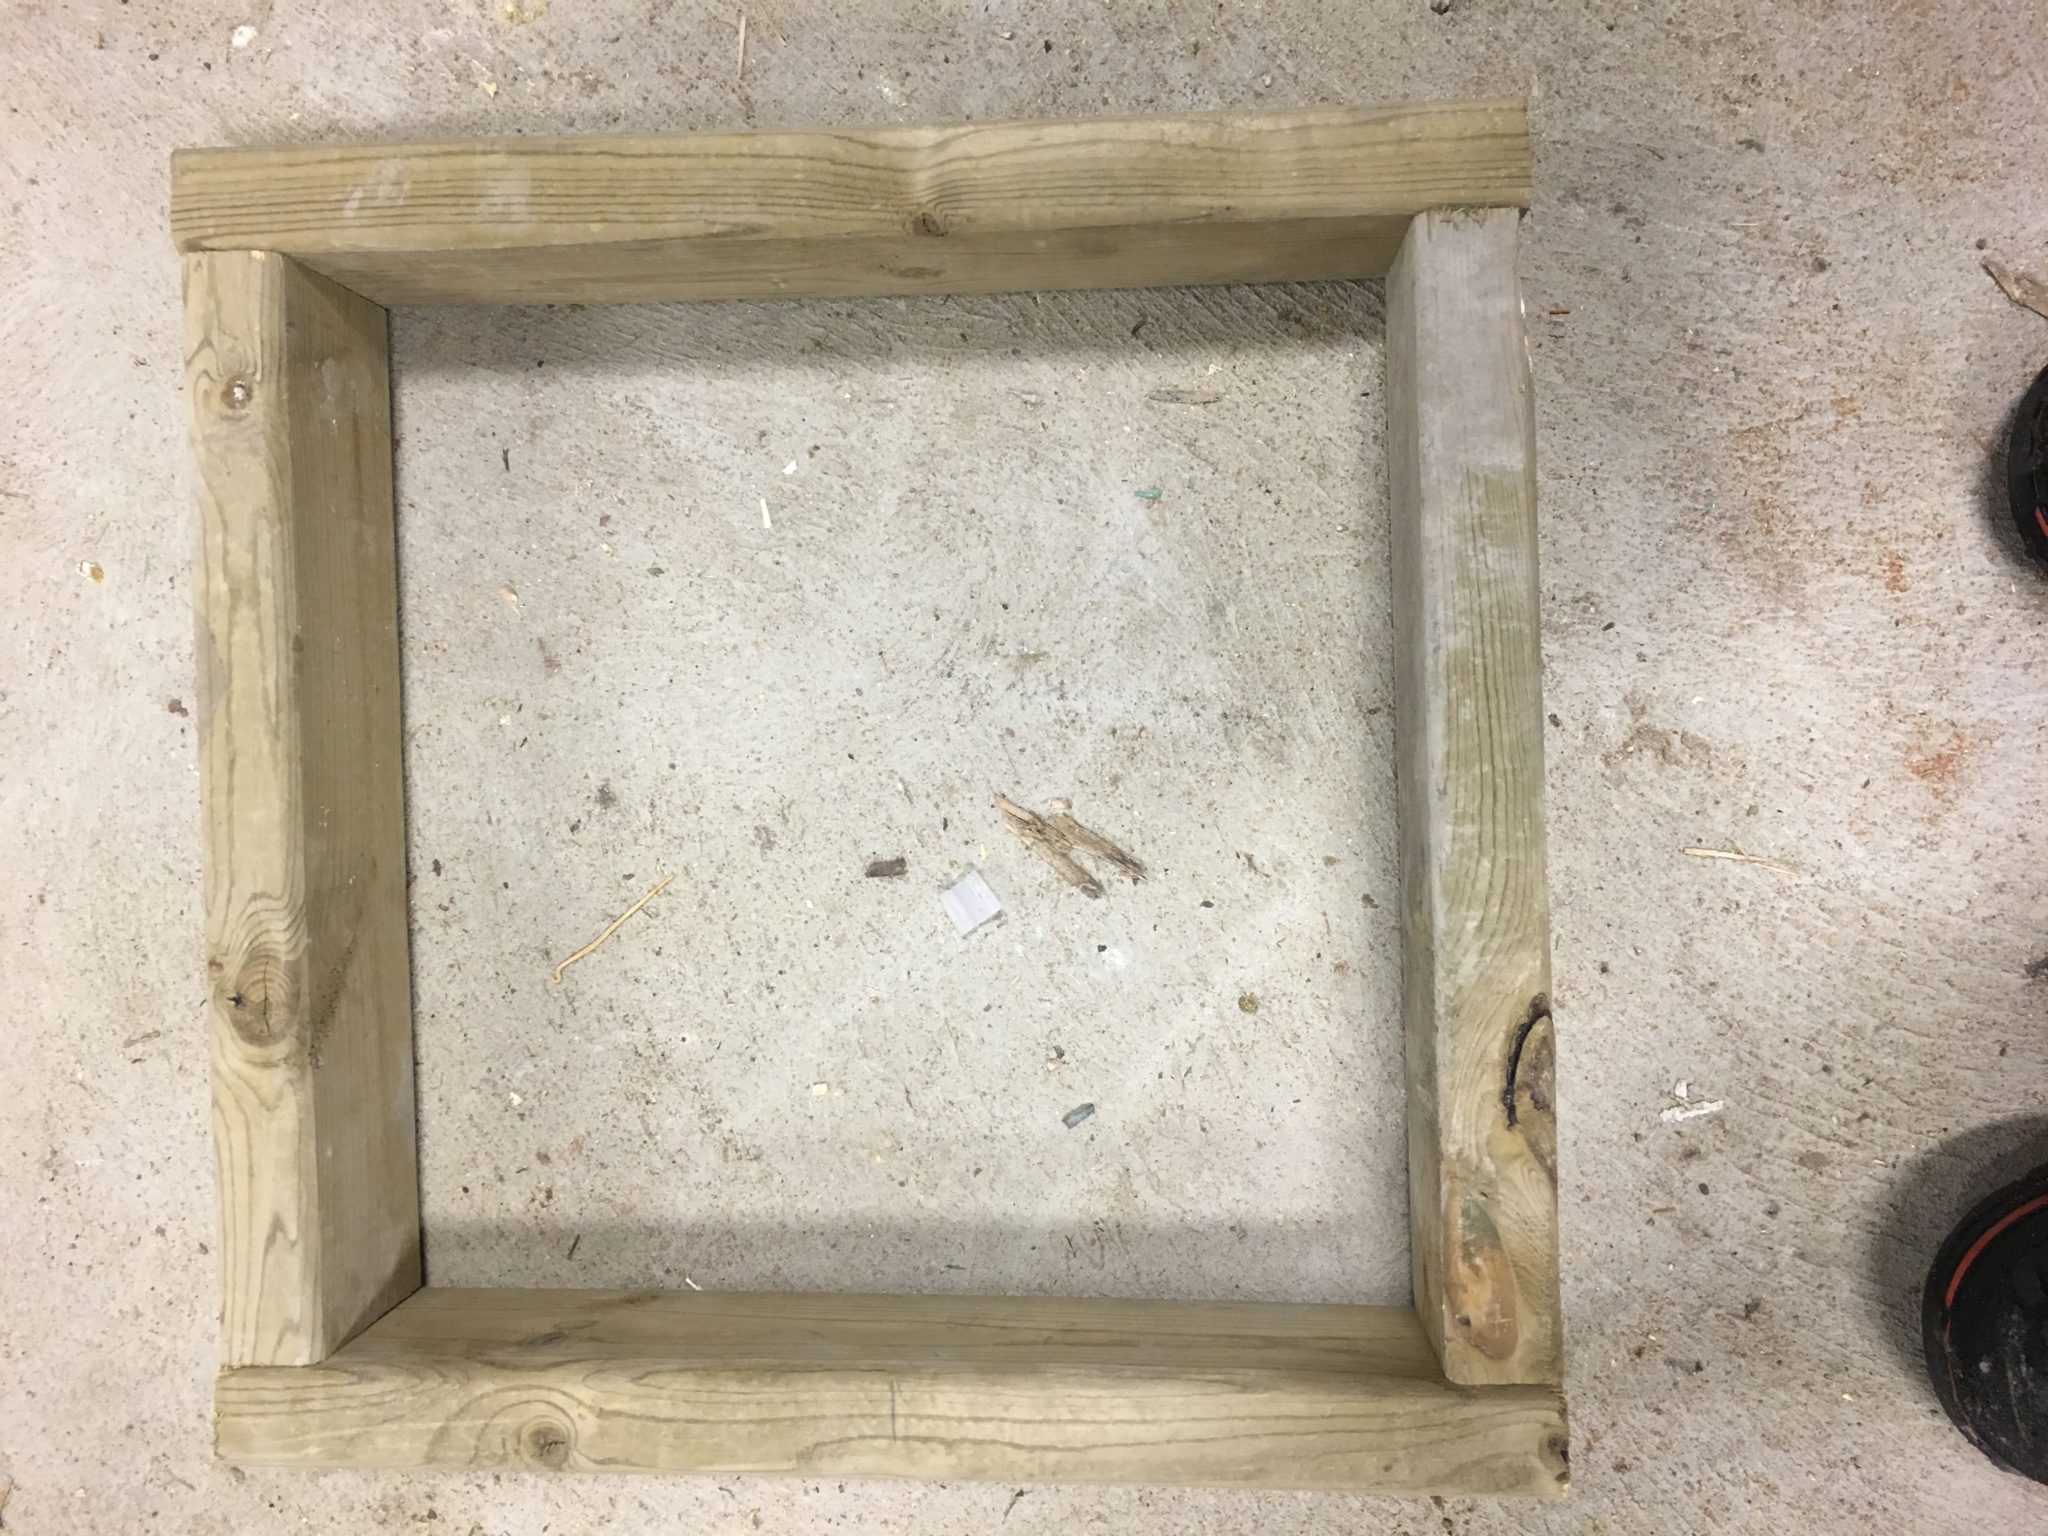
- First you are going to want to decide the size you want the box to be, this will depend largely on the animal its being used for as well as what you want to put in it. The one pictured here is a foot and a half square. Once you have decided the dimension of the box you can mark and cut your 2″x4″. 2 of them will need to be the full length of the box and the other 2 will be 3 inches shorter to make it a perfect square. You can also cut all of them using a 45 degree angle to create joints all around if you want to be extra fancy. For the sake of simplicity I have not done this.
- Next you can cut a piece of plywood to the dimensions of the box. This will be the bottom of the box
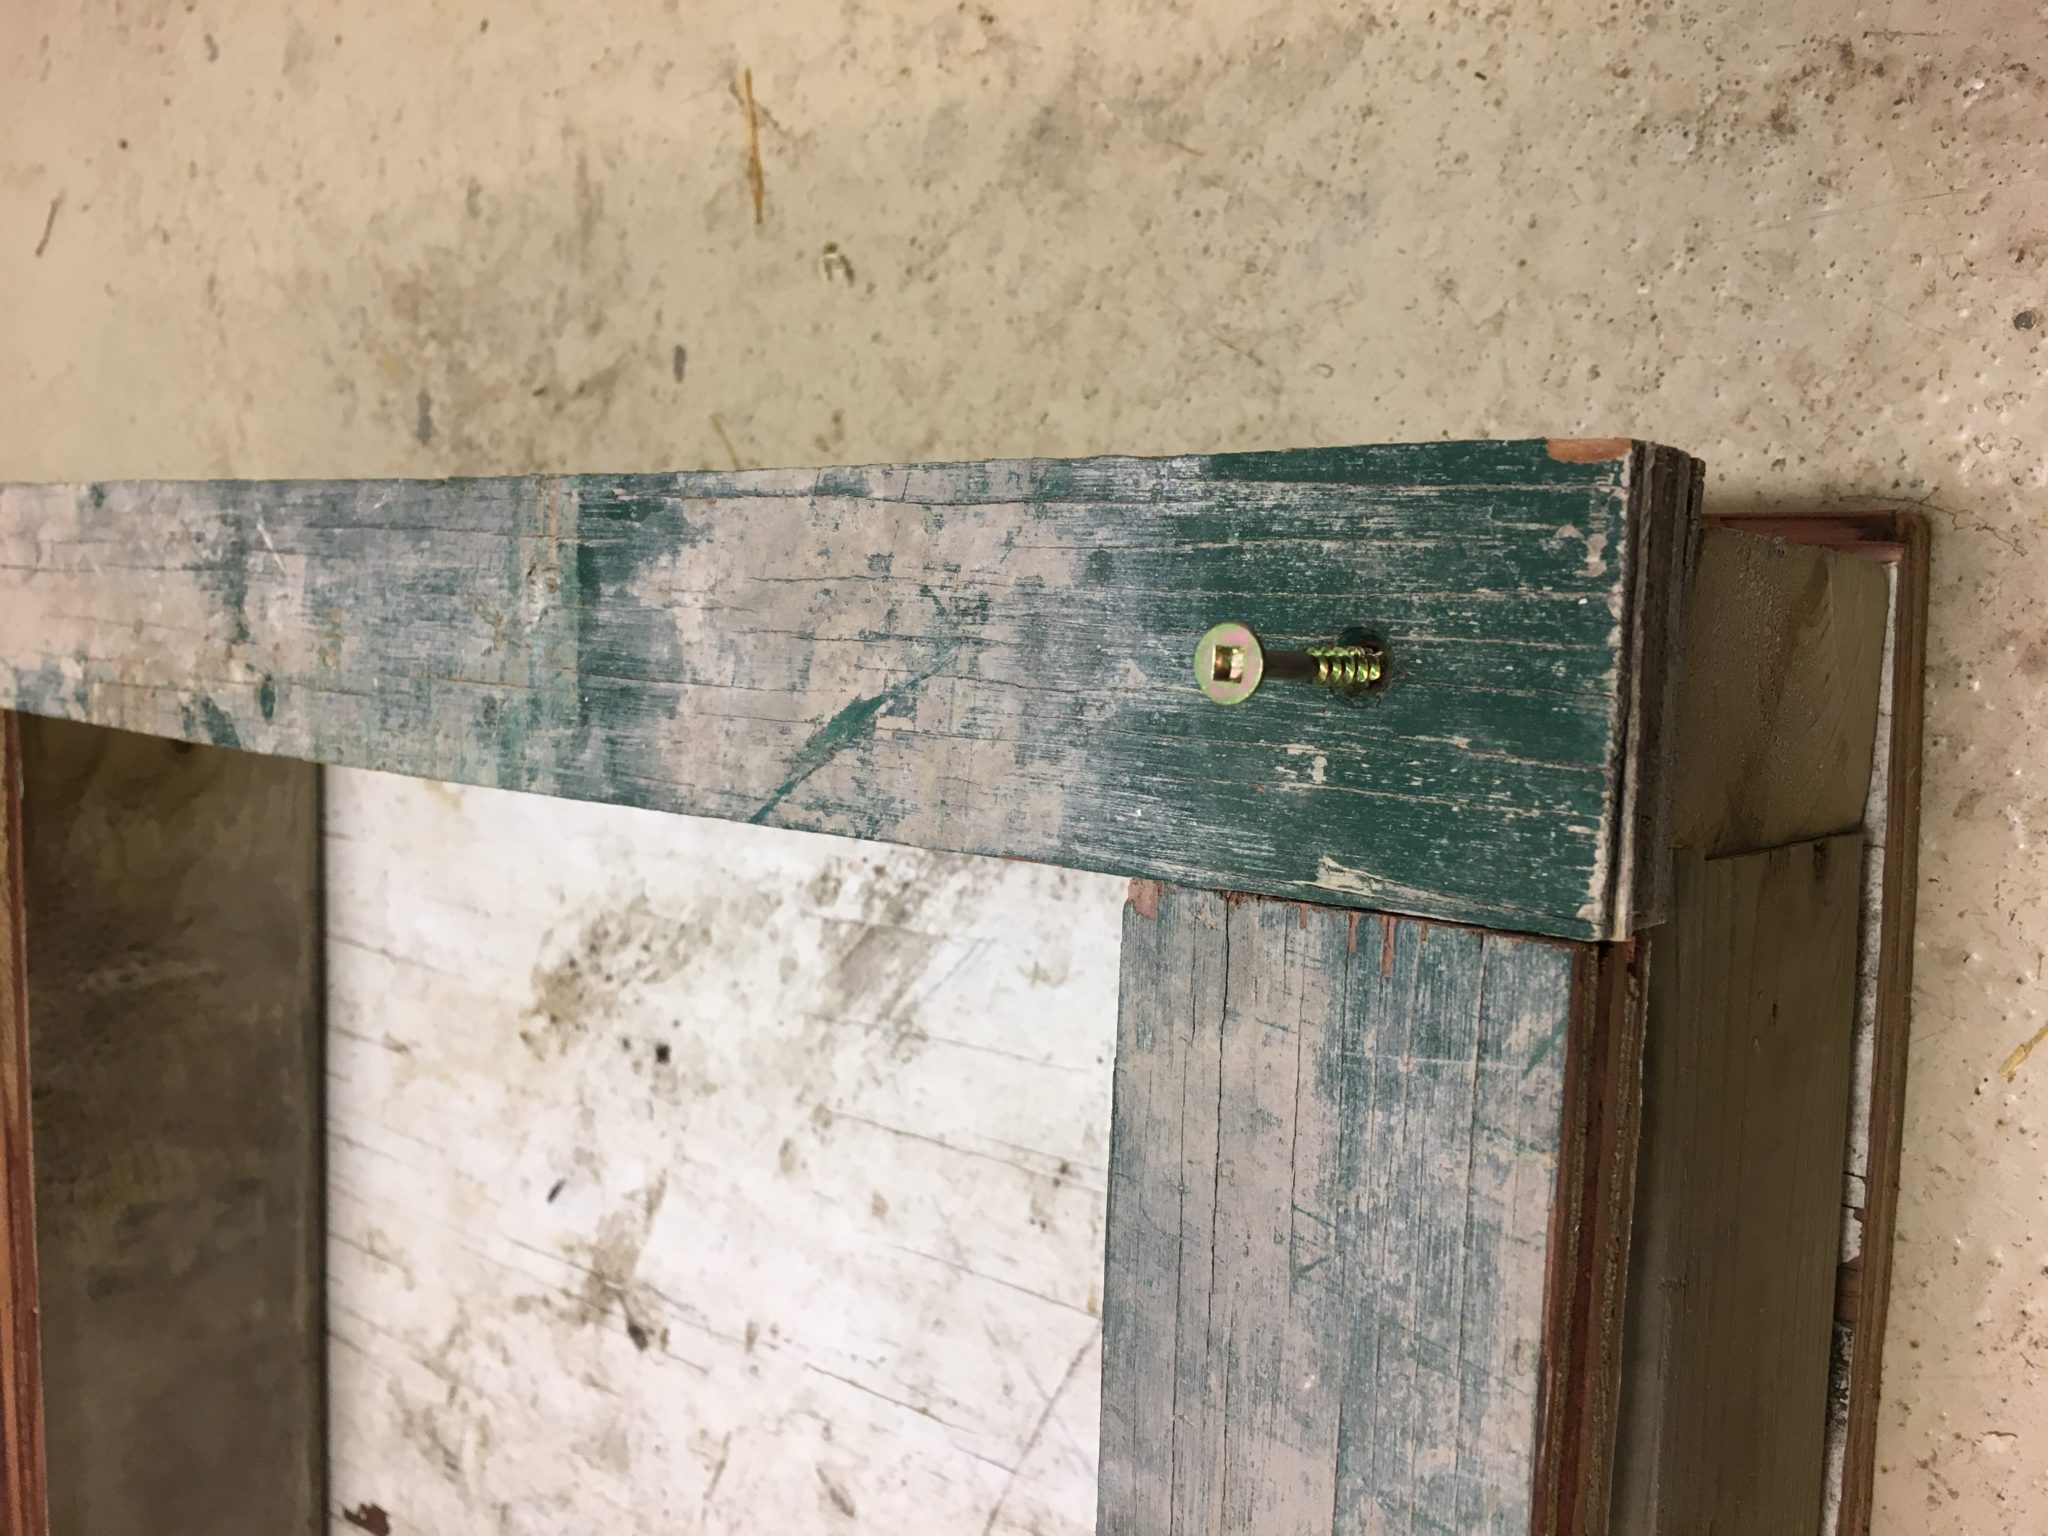
- Once you have the bottom cut out you can line it up with the frame and pre drill holes for screws around it. After it is pre drilled (this stops the plywood from cracking when you put a screw in) you can sink screws
 through the plywood, into the frame.
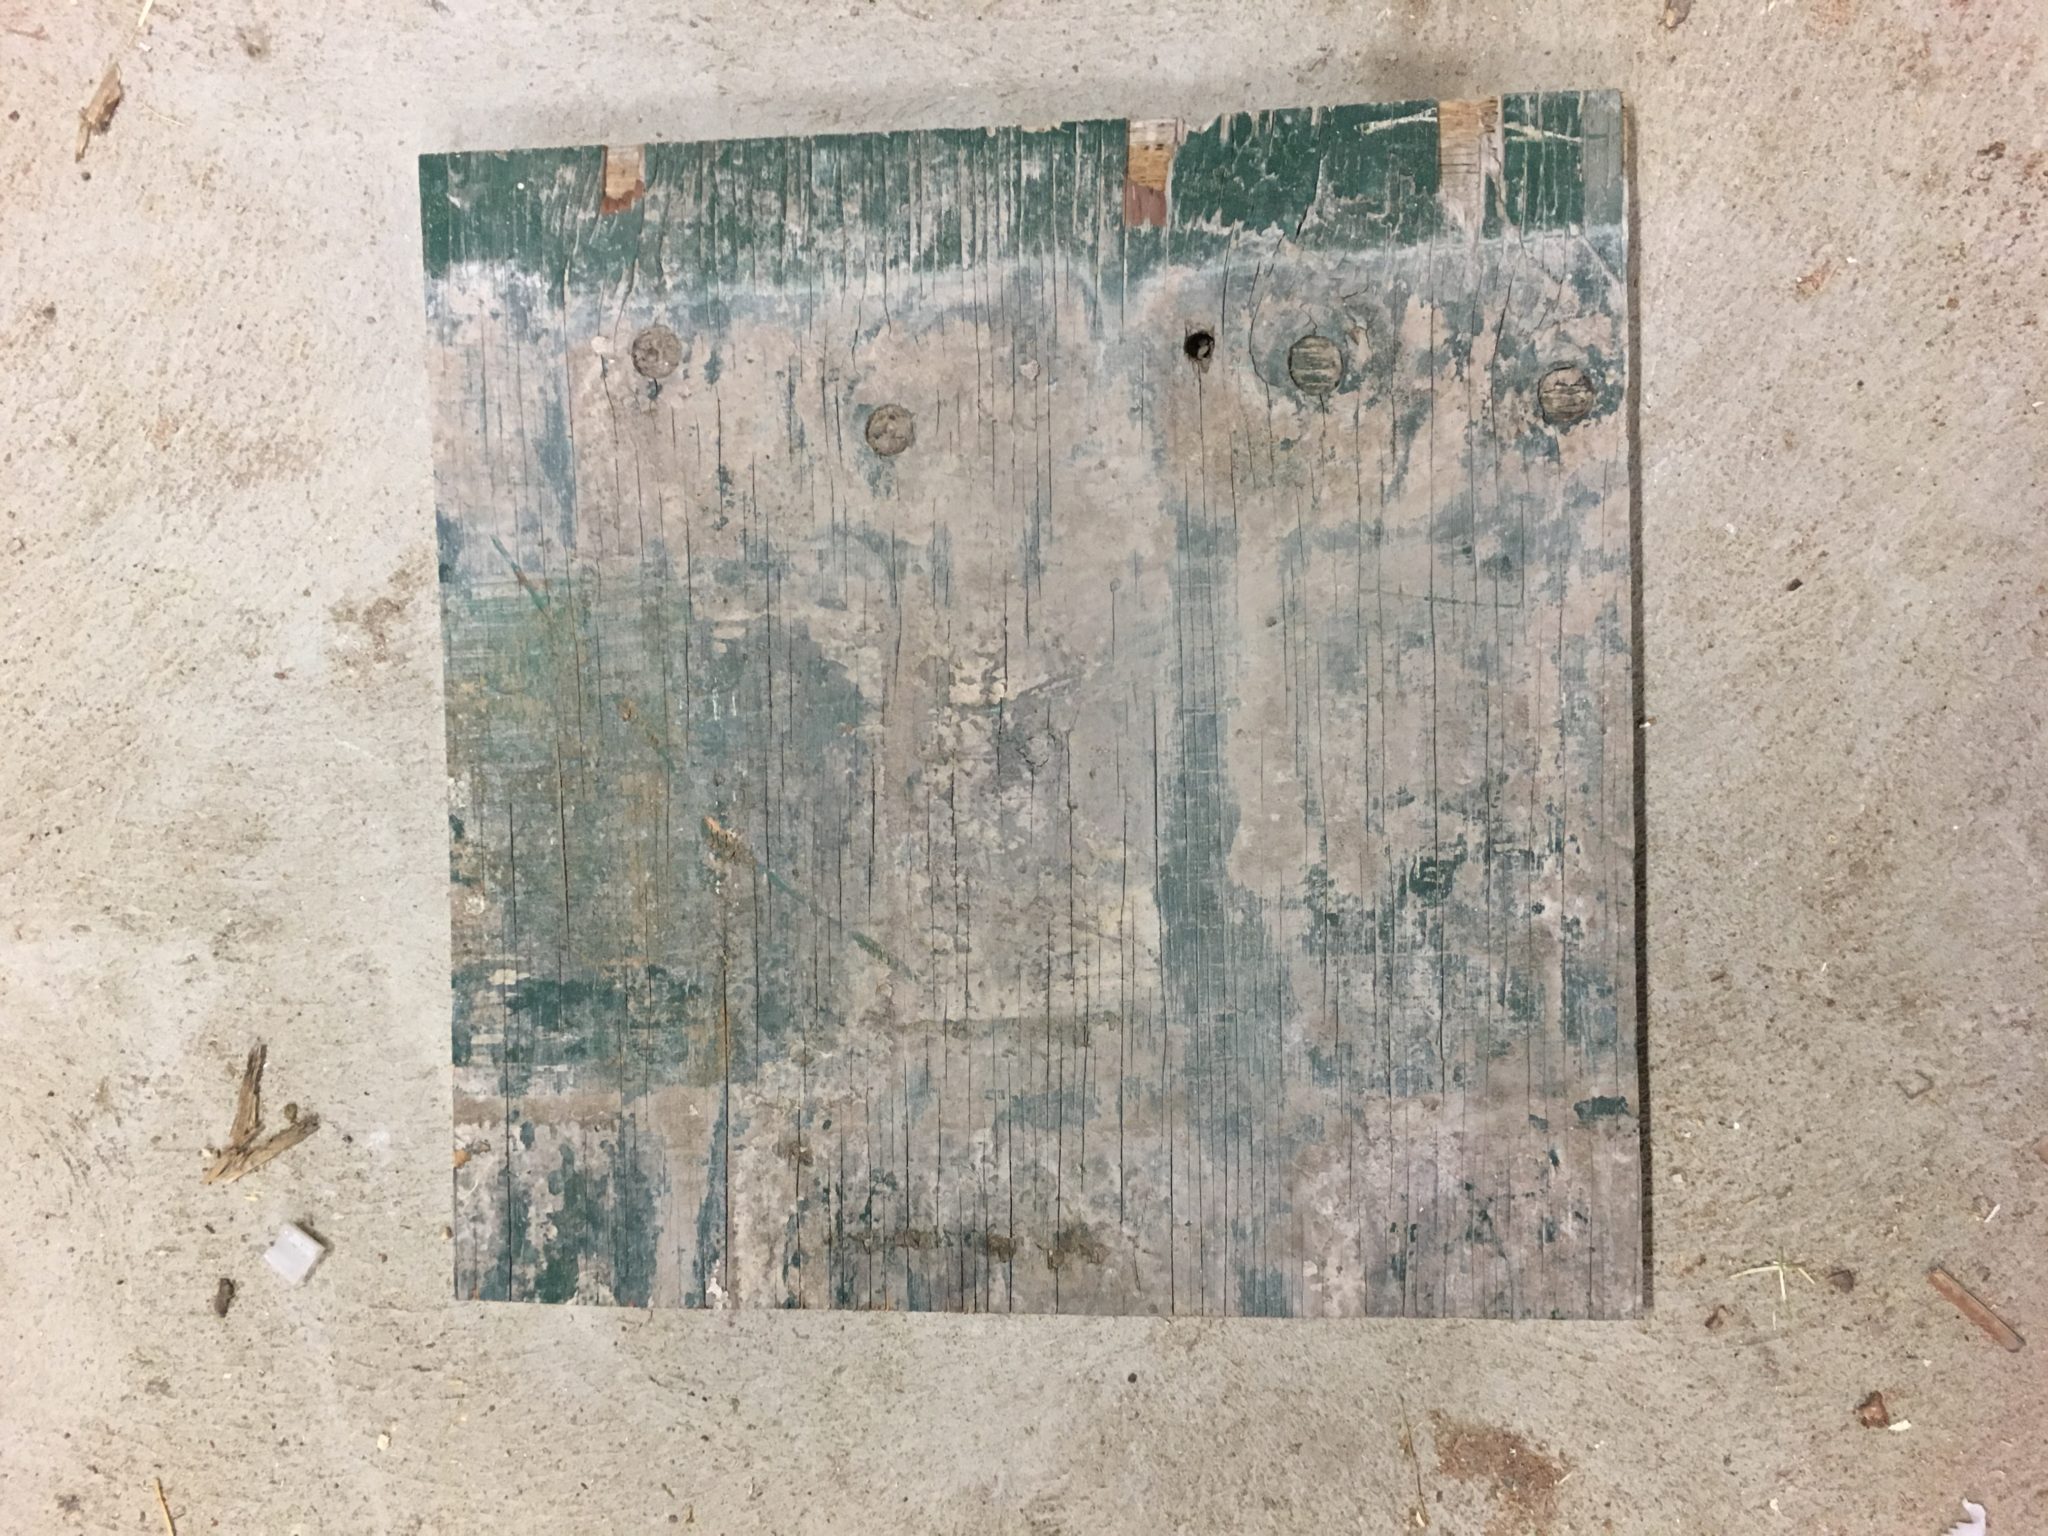
- Once the bottom is securely fastened to the frame, another piece of plywood can be cut to the dimensions of the box.
- Once this is done you can use the jigsaw or the circular saw to cut out a square in the middle of the piece of plywood as if you were making a picture frame, this is going to be the front of our box and what is going to be
 used to secure cardboard or other substrates to the face of the box for the animal to dig through.
 - Once this is done you can pre drill 4 holes in each corner of the plywood square and using small screws (your going to be taking them in and out every time you set up this enrichment item) secure the face to the 2″x4″ frame.
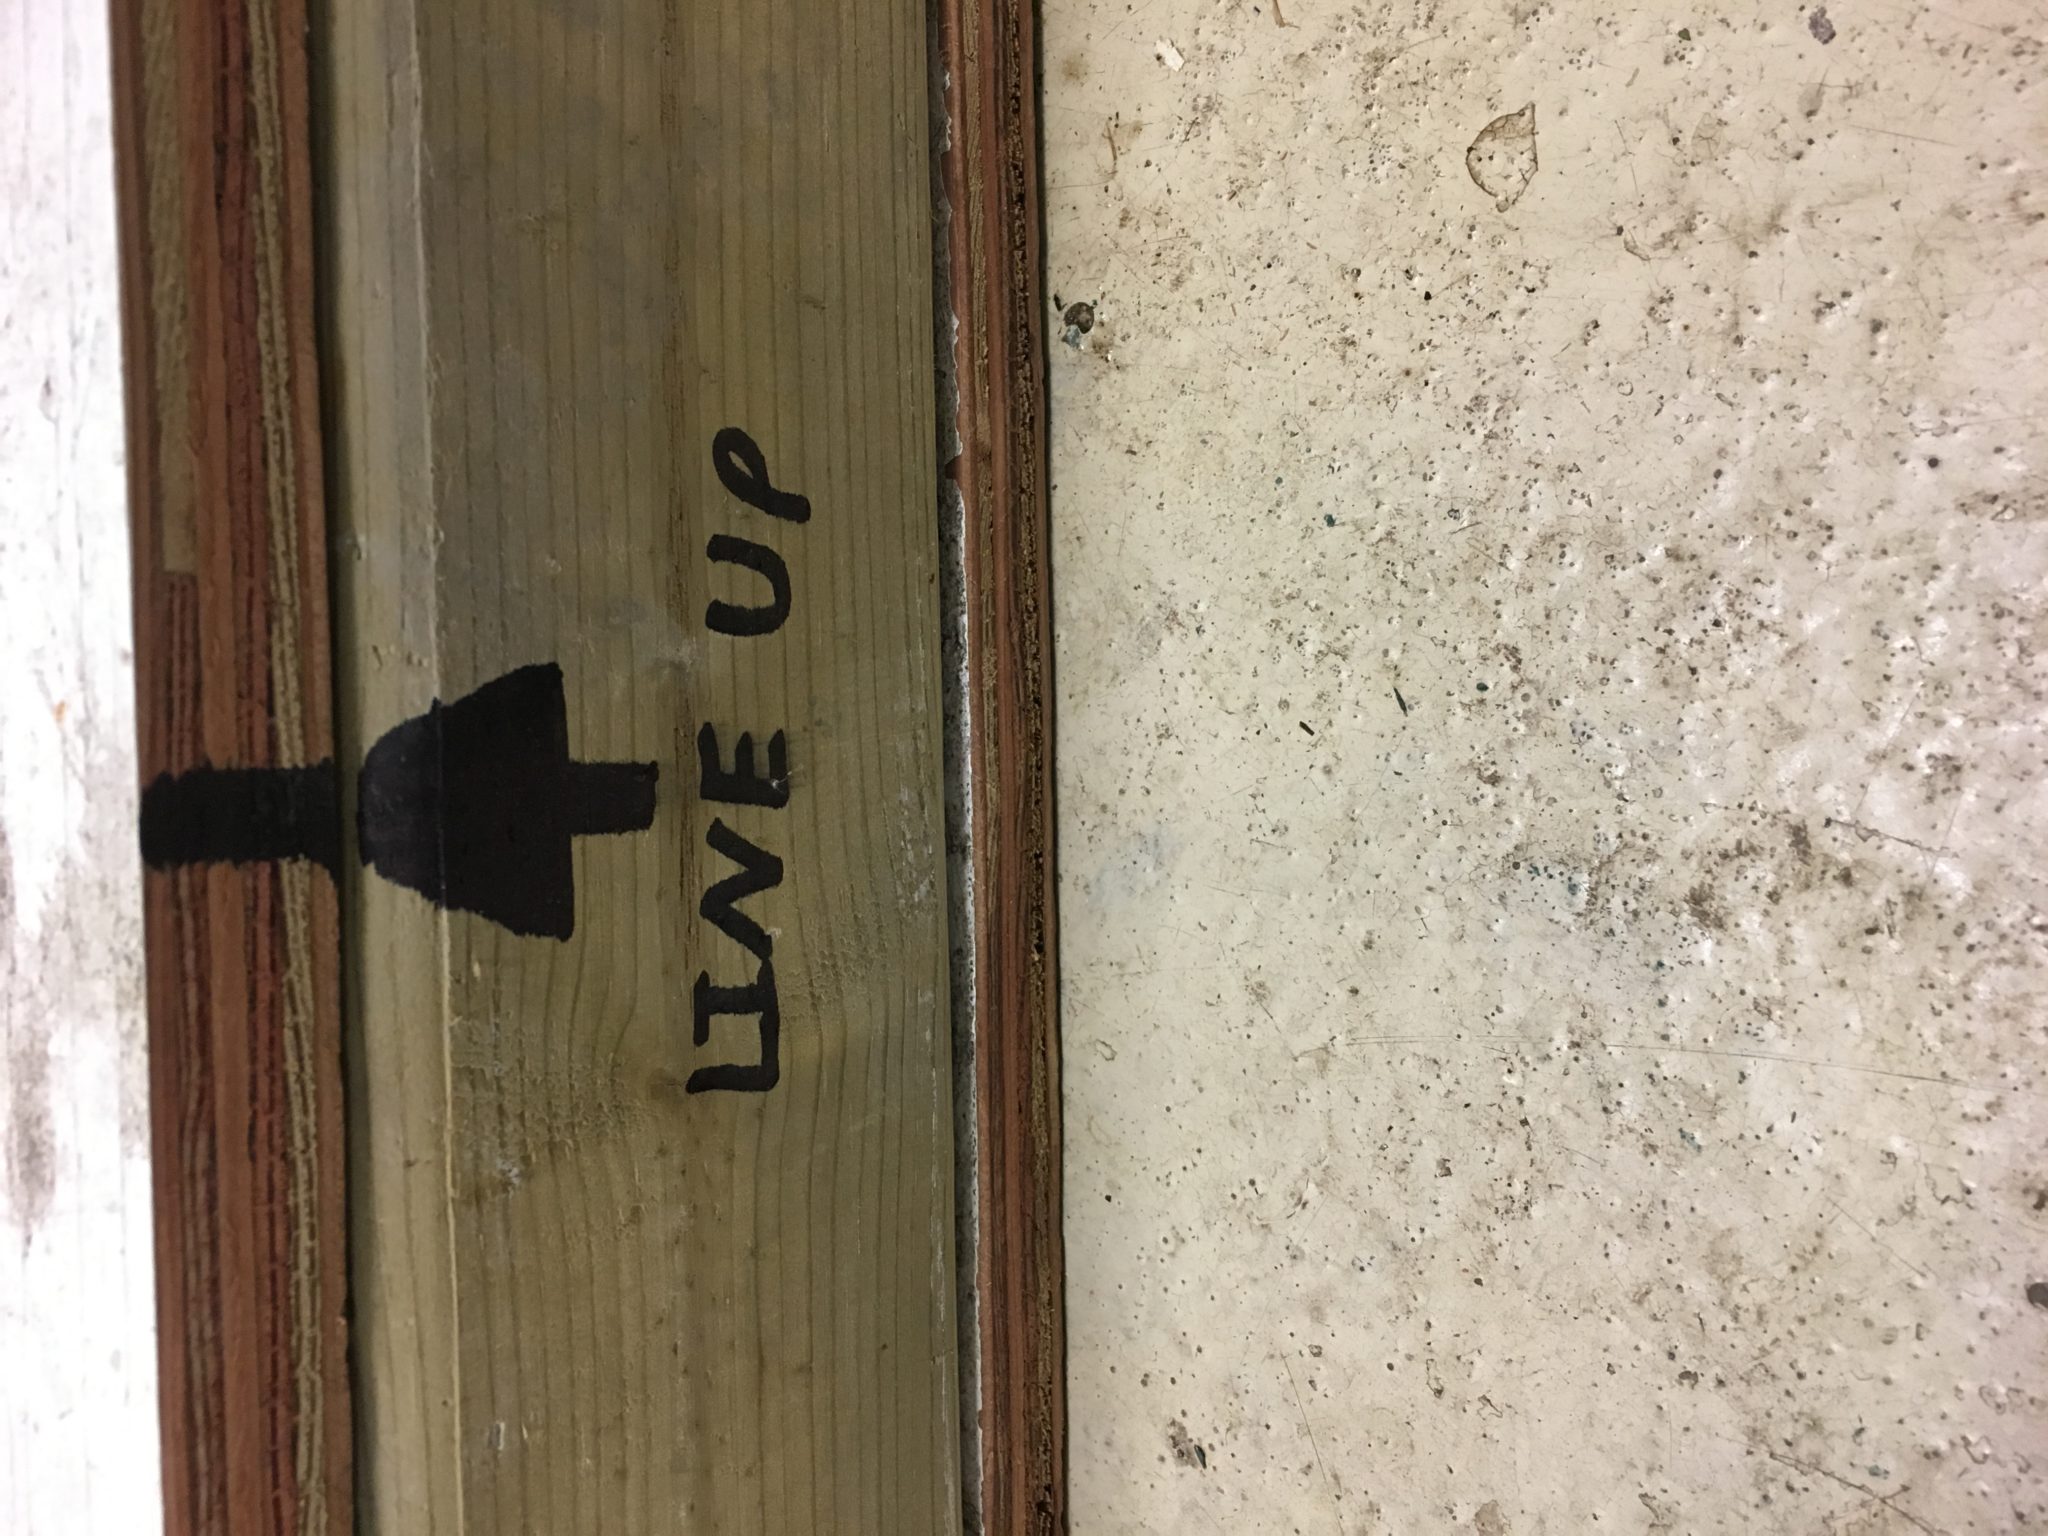
- To use this item, simply unscrew the “face” piece of plywood and place the substrate you want the animal to dig through on the 2″x4″ frame and then screw the face back into place in the preexisting holes. It is easier to find the pre existing holes if you clearly mark where they line up.


Tips/Comments
This is a very easy to make and fun enrichment item. It can be a pain to screw and unscrew it every time you have to set it up but I haven’t been able to find a better way to secure the face to the box that would be any easier. Have fun and be creative with what you put in the box, where you put it and what you choose as your substrate.