How to Build a Small Mammal Chute with only Scrap Materials
For this project I set off to make a functional small mammal chute that could be used to injection train a pair of skunks, out of only material I found laying around. If you work or have ever worked at any sort of animal care facility you know that money can be tight at times and when money is tight it can be hard to get materials for projects like this. I ended up using a file folder holder (thats fun to say) for the basic frame of the small mammal chute as its the perfect size for the skunks I was building it for. I used things that are easy to find at any facility like broom handles, wire mesh and scrap plywood. Its definitely not my prettiest project on here but its very functional and costs zero dollars to make, using materials that I’m sure most people reading this can find laying around very easily.
Building Materials
- Broom handle
- 3/4″ Plywood
- 1″x1″ Wire mesh
- Wire cutters
- File Folder Holder
- Circular Saw
- Drill + Drill Bits
- Tape Measure and Square
- Finishing nails and a hammer
Building Directions
- The first step to this small mammal chute is to take the file folder and create a “lid” that will not only increase the strength of the chute but also prevent the animals from climbing out the top. To do this, simply measure the top opening of the file folder holder and cut a rectangular piece of plywood to fit it. You can cut this with a circular saw, make sure you use a square!
- The next step will be to cut the plywood side pieces that will contain the wire mesh. To do this we are going to cut a simple “n” shape out of plywood. Start by measuring the length of the file folder holder as well as the height to the spot where your “lid” will be fitting in, as this will act as our anchor point for our screws. Cut a rectangle with these measurements and then cut the side strips on the rectangle and then carefully plunge cut along the top to cut out a smaller rectangle in the wood.
- You can now cut the two strips of plywood that go on the bottom of the file folder holder and allow us to secure the side pieces flush to the file folder holder. To do this, measure the width of the file folder holder and add the width of the plywood to both ends of the measurement and cut with a circular saw.
- You can now cut the wire mesh with the wire cutters to the width and height of the side pieces you cut earlier (being sure to file down any sharp edges from cutting).
- To secure the mesh to the plywood I took the finishing nails hammered them into the plywood and bent them around the mesh. You could also use U nails for this.
- You can then take your side pieces with the mesh installed and screw them to the folder holder (being sure to pre drill all the holes!) by screwing through the roof piece you made in step 1. Then take the strips you made in step 3 and put them on the bottom of the folder holder and screw the lip of the strips to the bottom of the side pieces. This should allow the side pieces to sit flush on the file folder holder.
- Finally you can cut a broom handle to the length of the file folder holder and secure it with screws through some pre drilled holes at the top of the folder holder (be sure to pre drill the actual handle as well).
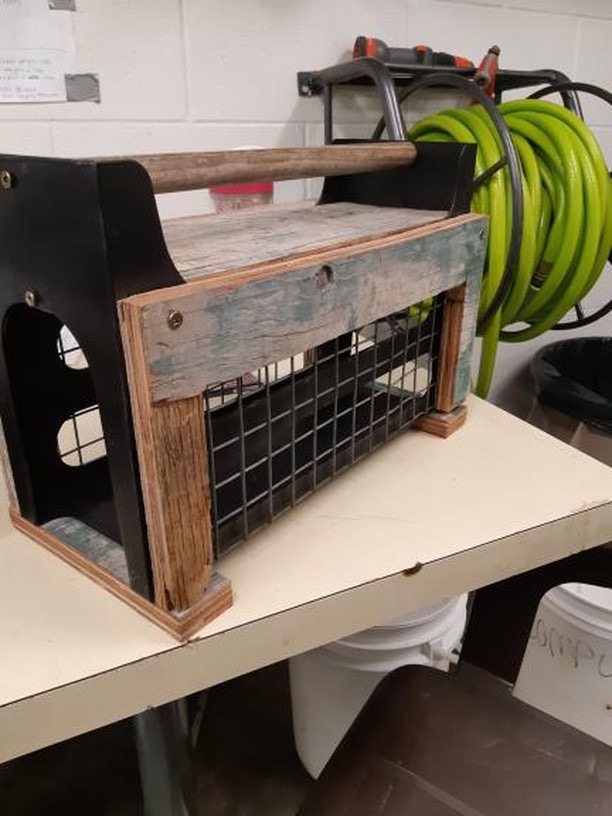
The small mammal chute 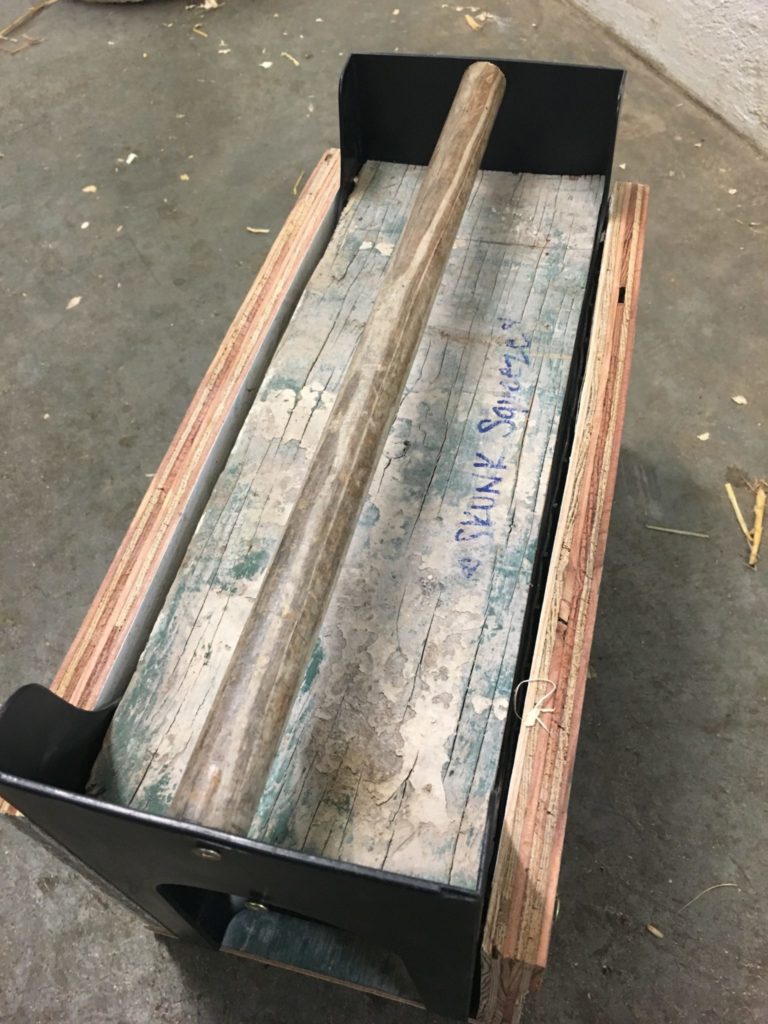
Top of the Chute 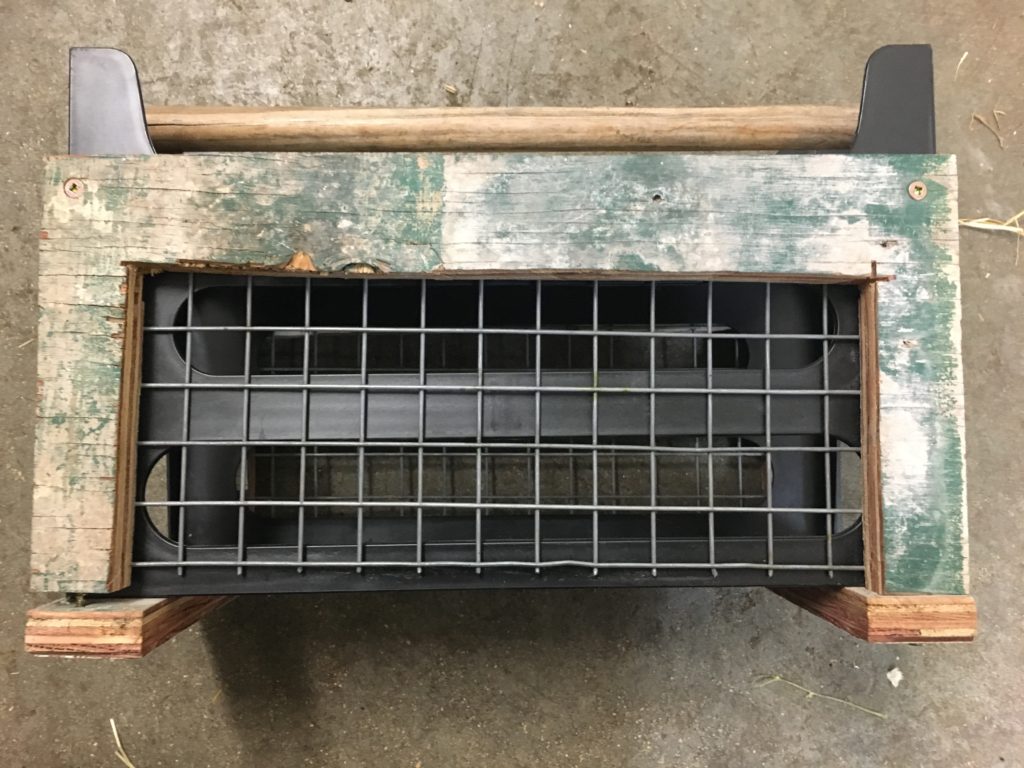
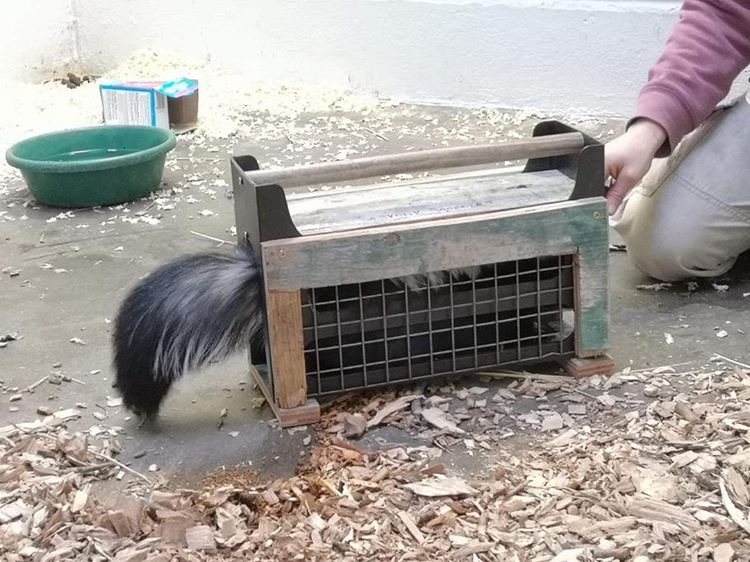
Side of the Chute Chute being used by a skunk
Tips/ Comments
This small mammal chute proves that you don’t always need a large budget to make very functional useful items for training and enrichment.