Description
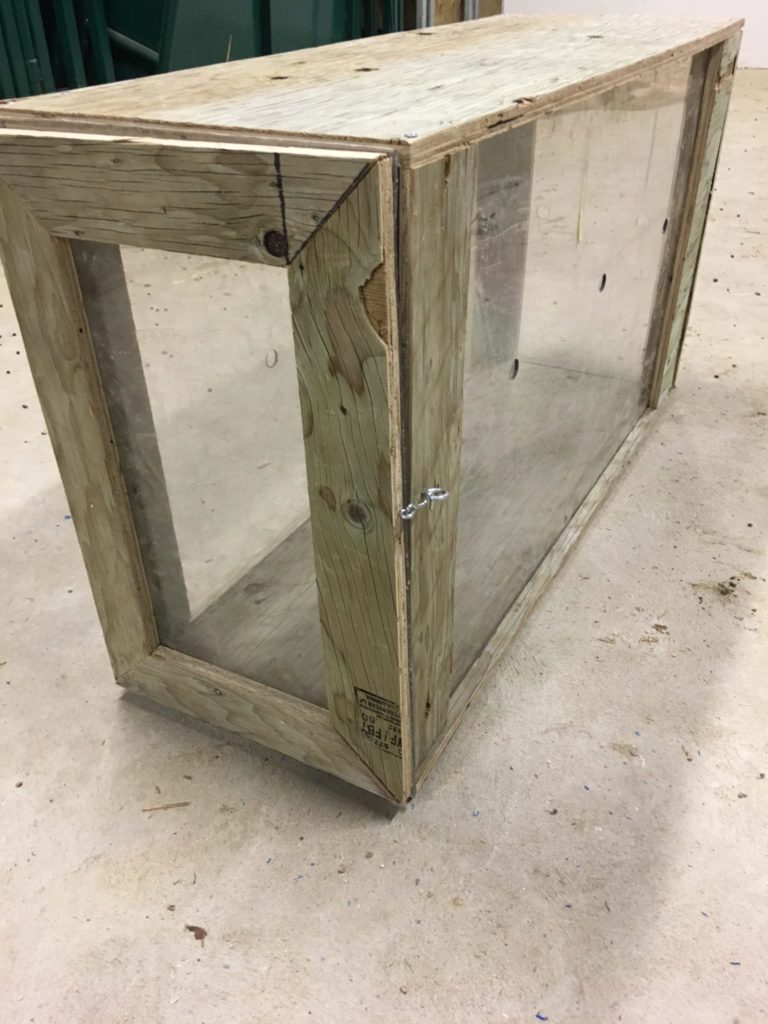
Have you ever been in an animal emergency and gone to grab a old plastic cat carrier only to find one of those tiny pins is missing or the bottom is cracked or damaged? Chances are that is you work with animals this has been a reality for you. Most store bought animal crates these days are built to be as cheap as possible and due to that they often sacrifice durability and reliability. In this article I will be going over how to build an animal crate that is custom built for your needs as well as being reliably light weight and extremely durable. These types of crates are particularly useful for many animal care facilities that are using/ needing crates to move animals over short distances very frequently. Although this crate is designed for training small to medium animals such as Komodo Dragons, the applications of custom crates can even be used to crate train Rhinos! This particular crate was built specifically for training purposes and is not as durable as it could be and does not feature a robust locking system for this reason. Read below and learn how to build an animal crate today!
Building Materials
- 3/4″ Plywood
- 1/4″ plexy glass
- 2 Hinges
- 1 lock of your choice
- Drill, Screws and Drill Bits
- Circular Saw
- Measuring tape, Square, Pencil
- Gorrilla Glue/ Super glue
Building Instructions
- First, like most of our projects you are going to have to decide how large of an animal you want to make this crate for. Since this is being built out of wood, id recommend going on the small side to save weight, but if you are building this for training purposes you may want to make it larger as this might make it more inviting for the animal.
- Once you have your rough dimensions you can cut the top and the base sheets of plywood out, keeping in mind that you should leave an extra 3/4″ on the perimeter of the ply in order for the sides to go on. This will make more sense once we put the dado cut in the wood.
- You can now cut your plexy walls to the correct dimensions to fit the sides and the back of the animal crate.
- As we said in step 2, we are going to need to cut a dado in the base and the top of the crate with our circular saw. This dado is going to act as a recess for the plexy to sit in so it needs to be at least as wide as the plexy. (Heres a short video on how to cut a dado with a circular saw incase you are having trouble.) I am going to cut a dado along the full perimeter of the plywood 3/4″ from the edge as seen in picture 3.
- Once you have cut your dado you can then cut 6 strips of plywood that are around 3″ wide and are as long as your animal crate minus 1.5″ to account for the plywood. These pieces will secure the top and bottom and stop the plexy from moving around and falling out. After you have cut these strips you can then secure them to the base of the animal crate with screws (make sure you pre drill) as shown in picture 4 below.
- The next step in how to build an animal crate, you may need a partner to hold the box together in this step. You can now insert your plexy into the dados and then place the top piece of plywood on top of the crate, lining up the plexy here as well.
- Once your plexy is in the right grooves and you are happy with how the side strips are lining up the way you want them too, you can secure the top to the strips the same way you did the bottom piece. And then secure the back strips to the back plexy like picture 4.
- Once your plywood is all attached you can go around and screw the plexy to the plywood strips by pre drilling a small hole in the plexy and putting a screw in through the wood.
- You are now ready to hang the crate door. I did this by simply creating a plywood frame for the door as you can see in picture 6 below. I did this by cutting 4 strips of plywood to the dimensions I needed, with a 45 degree angle on the ends. I then took the plexy part of the door and screwed it to the plywood frame. (for information on how to do this check out our article on various beginner shop tools)
- You can now hang hinges to the top and bottom of the door and then screw them to the animal crate.
- The lock I added in this how to build an animal crate project was just superficial and was only meant to keep the door closed while storing, if you are using this crate for moving an animal make sure the lock is much more robust.
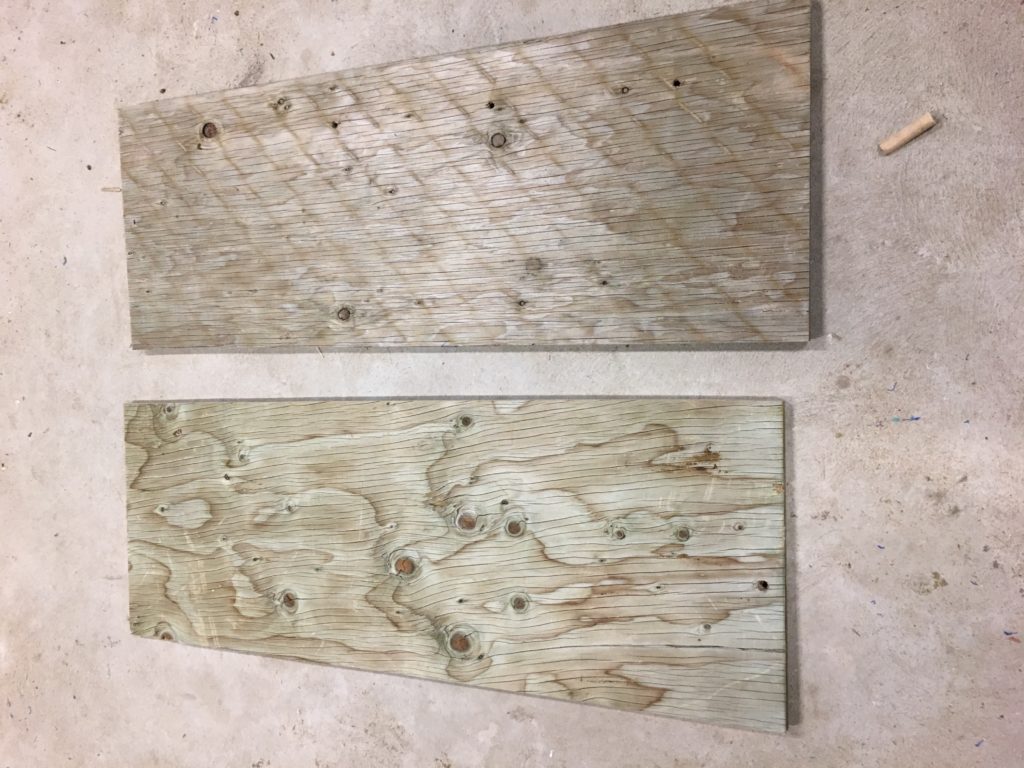
Starting Sheets of Plywood 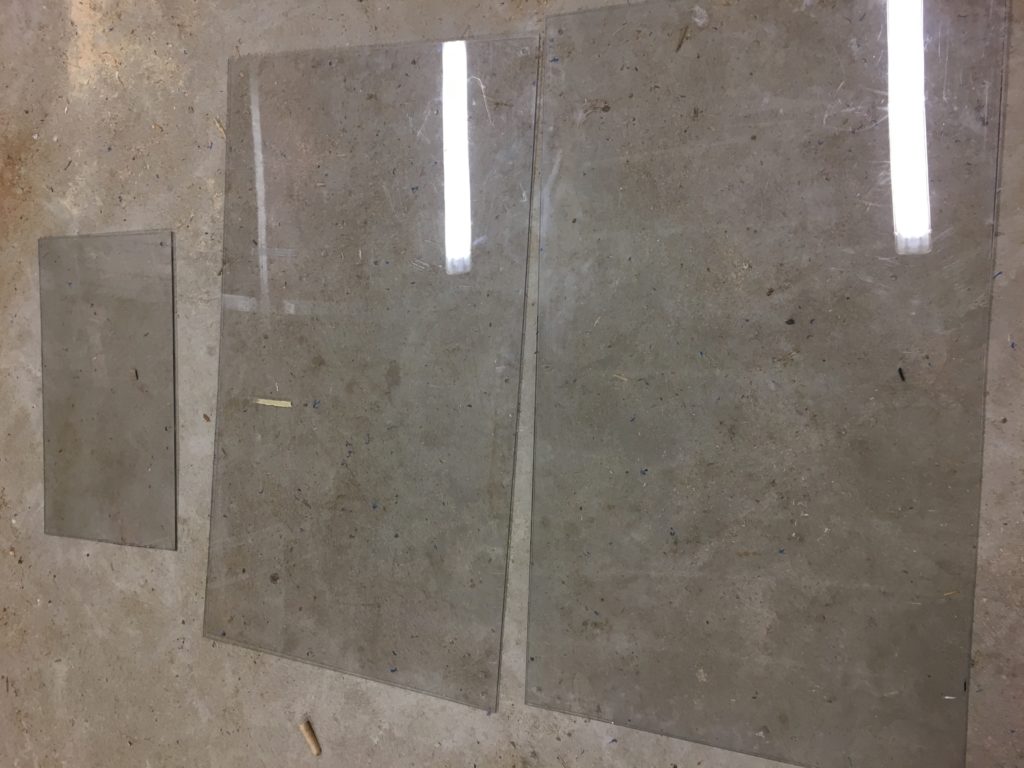
Starting Sheets of Plexy 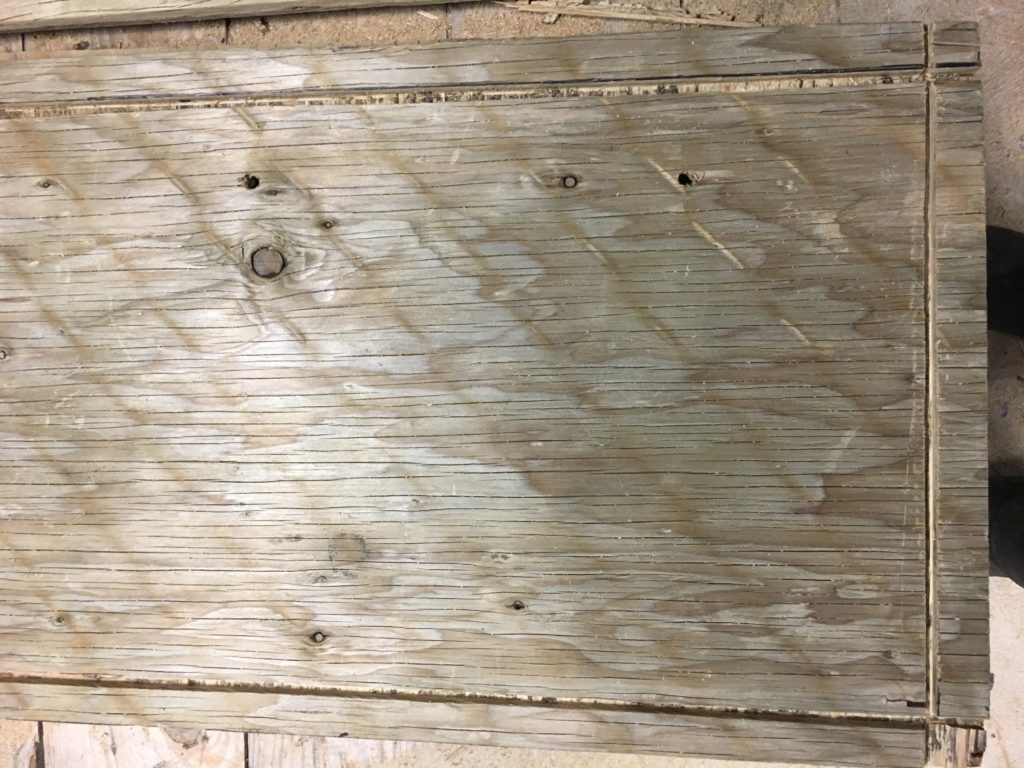
Datos for the Plexy to sit in 
Base of the crate before adding plexy 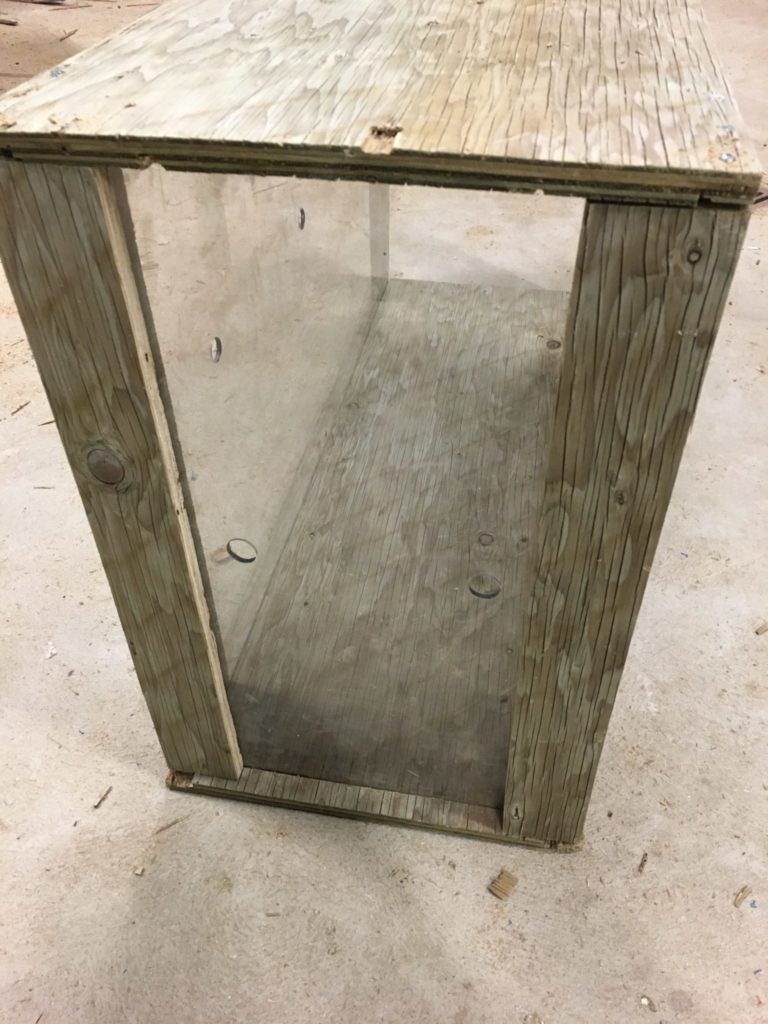
Back of the Crate with plexy 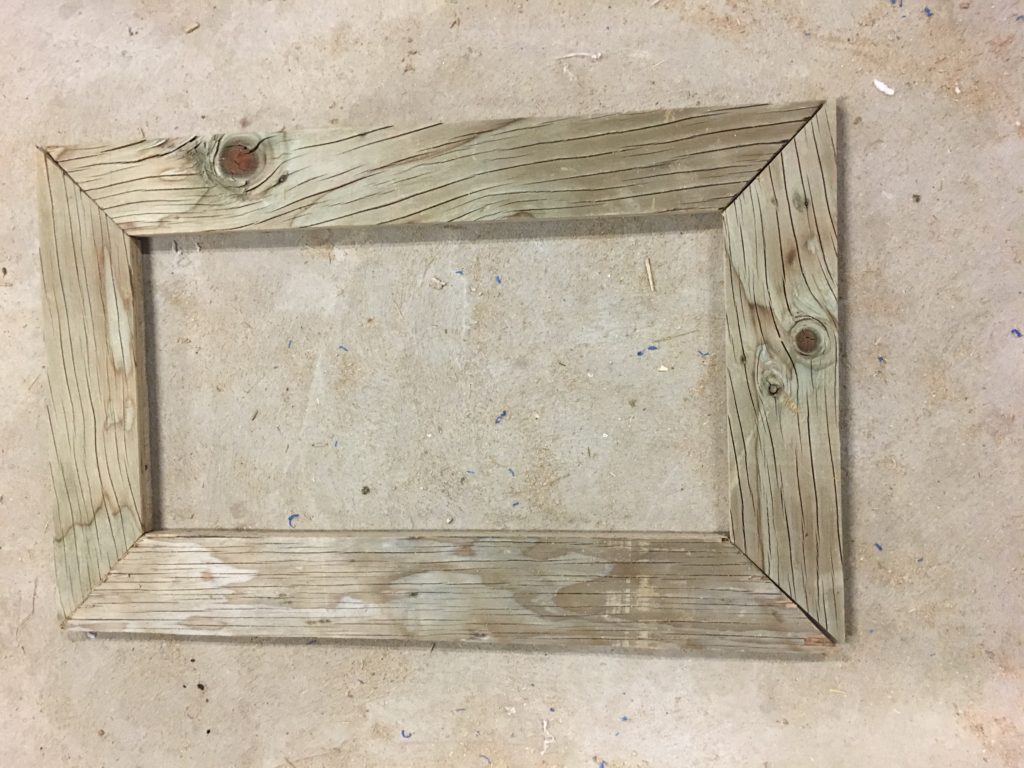
Frame for the door 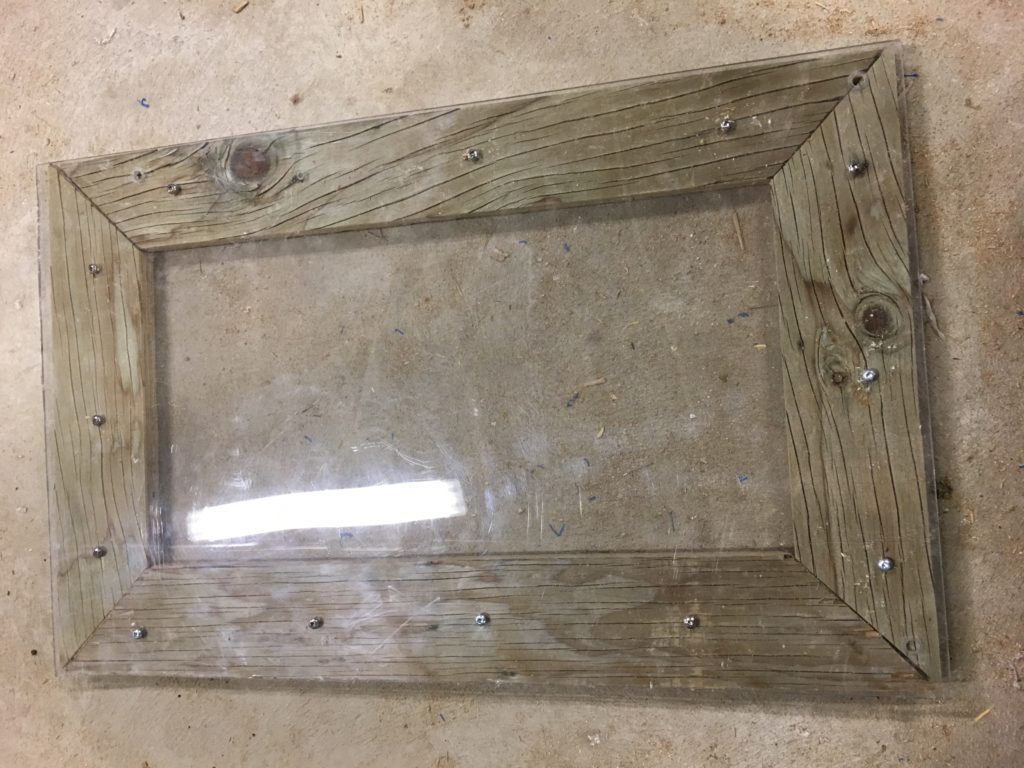
Door for the Crate 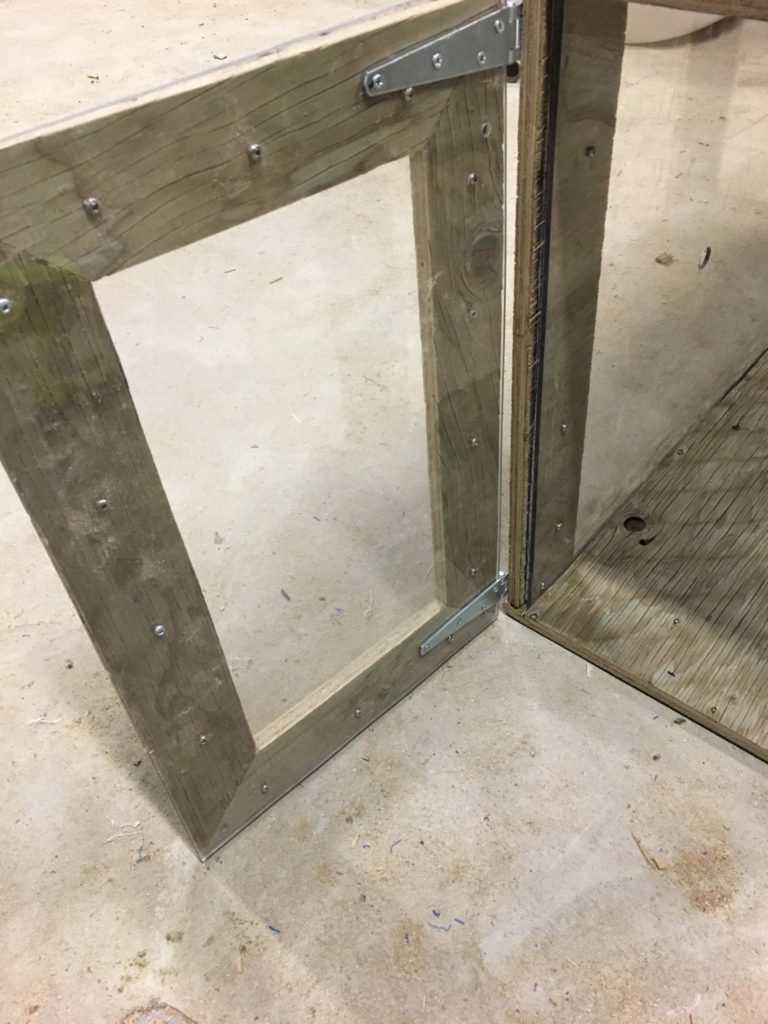
Hanging the Crate Door 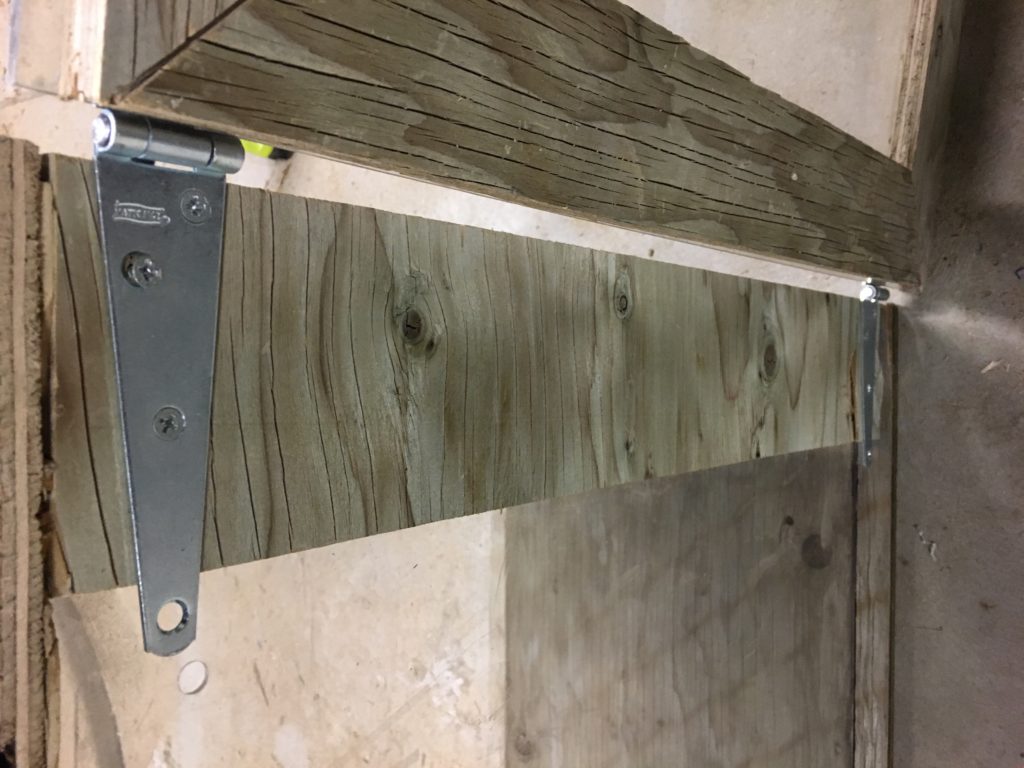
Hinges on the Crate 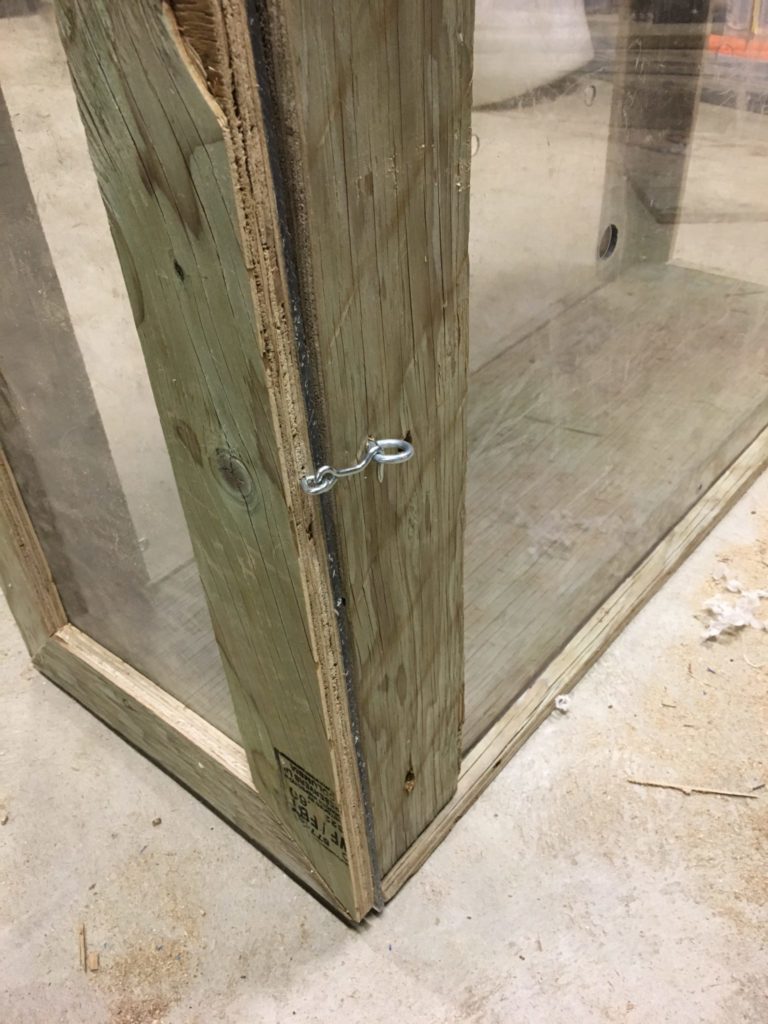
Lock Finished Product
Tips/ Comments
I’m very excited about this guide on how to build an animal crate as it can be used for a variety of animals. Once you learn how to build an animal crate like this one you will easily be able to see other ways to modify it for your needs. This design can easily be beefed up using things like 2×4’s and longer screws so it can easily transfer over to larger animals. Have fun with this one and brush up on your carpentry skills while