Today’s post comes to us from Stephanie Beatson, a Zookeeper with a passion for enrichment building. In this article, you will learn how to build an enrichment rope ladder that can be extremely useful when adding complexity to an exhibit.
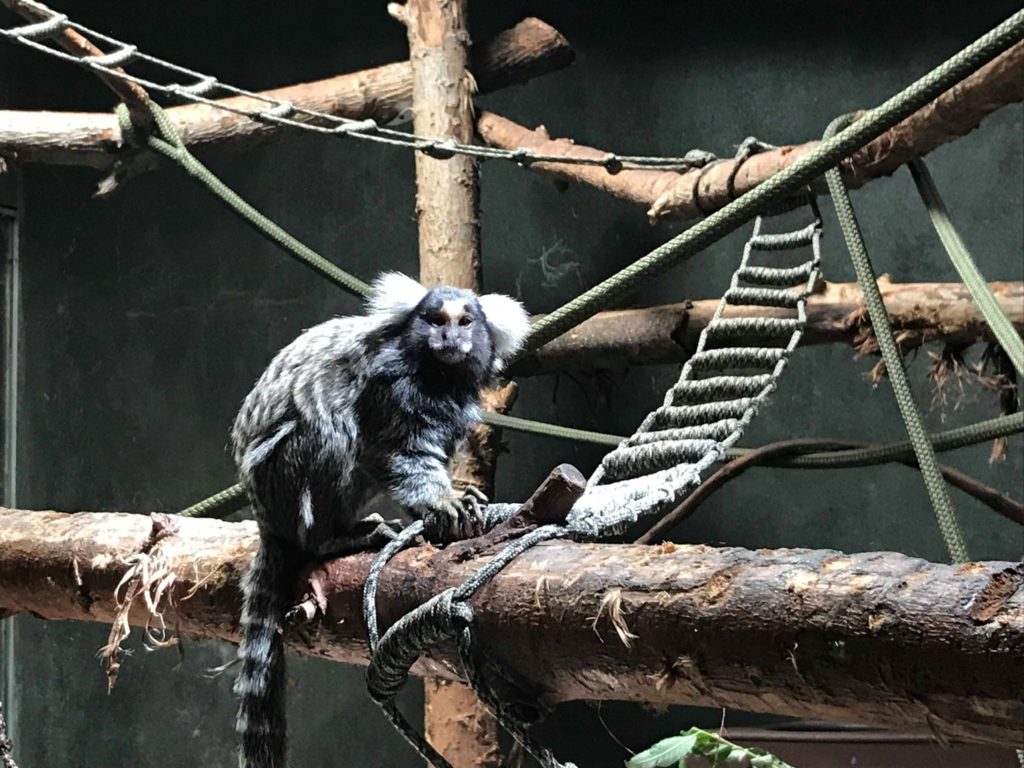
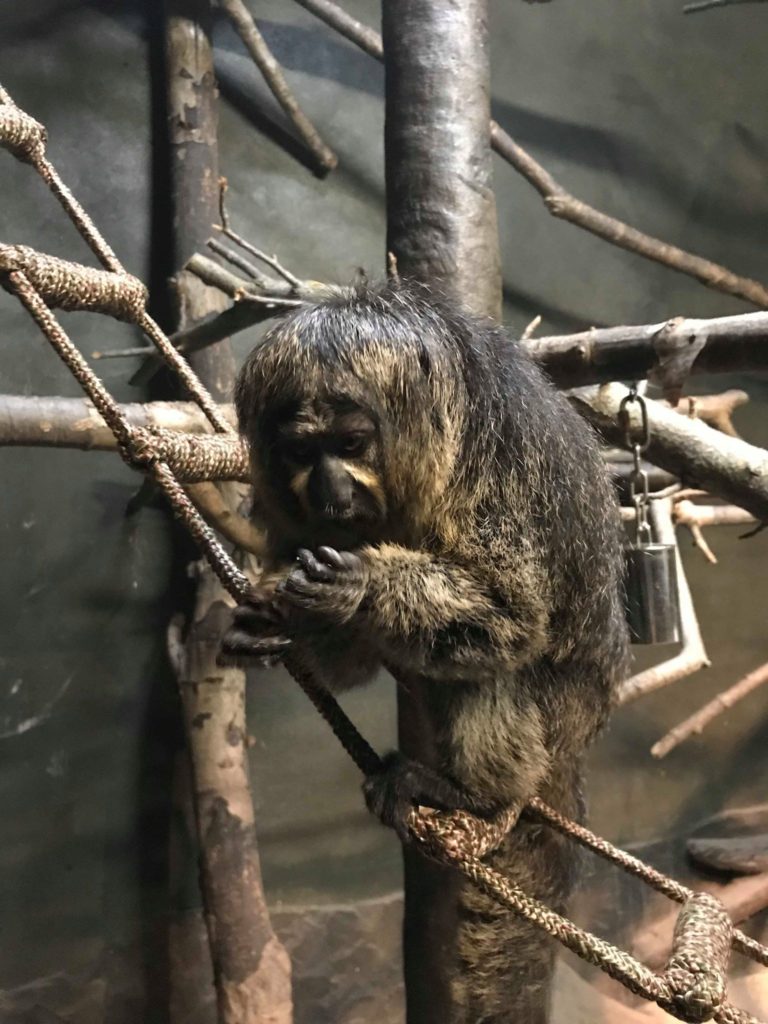
Rope ladders are pretty versatile when used as enrichment, and can be used for many species as long as they’re secured safely. I originally built a couple of these for Jamaican boas, but have since made enrichment rope ladders for saki monkeys, golden lion tamarins, and common marmosets. When I hang them in enclosures, I make sure the ropes are pulled taut and firmly secured to prevent an animal from getting tangled. I’ve heard horror stories of gorillas and mandrills getting limbs and necks stuck in ropes, so be very careful with apes in particular.
Building Materials
- A rope. I use 50ft, 75ft or 100ft polypropylene diamond braid ropes.
Building Instructions
- Since I’m using my ropes for animal enclosures, I put a bowline knot at the top of each rope. Bowline knots are one of the most secure knots and they can’t create a noose, so they’re safe. Plus, a quick link can fit through nicely! Look under “tips” to see how to make a bowline knot.
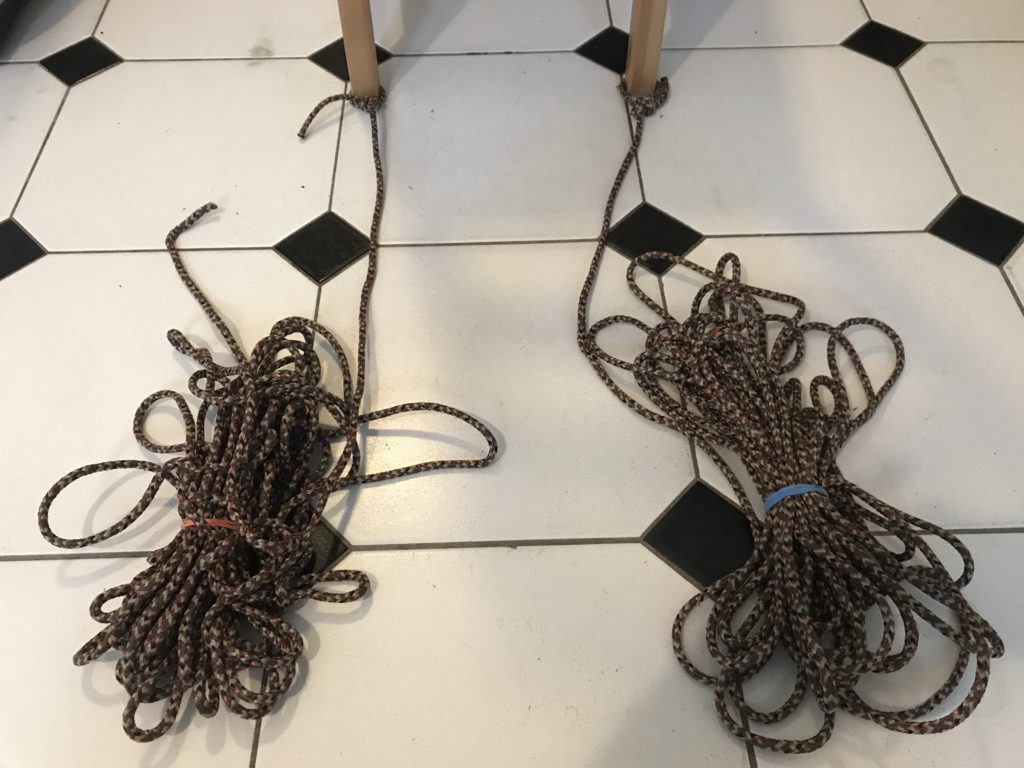
- Lay your two ropes out side by side to the width you want your finished ladder to be.
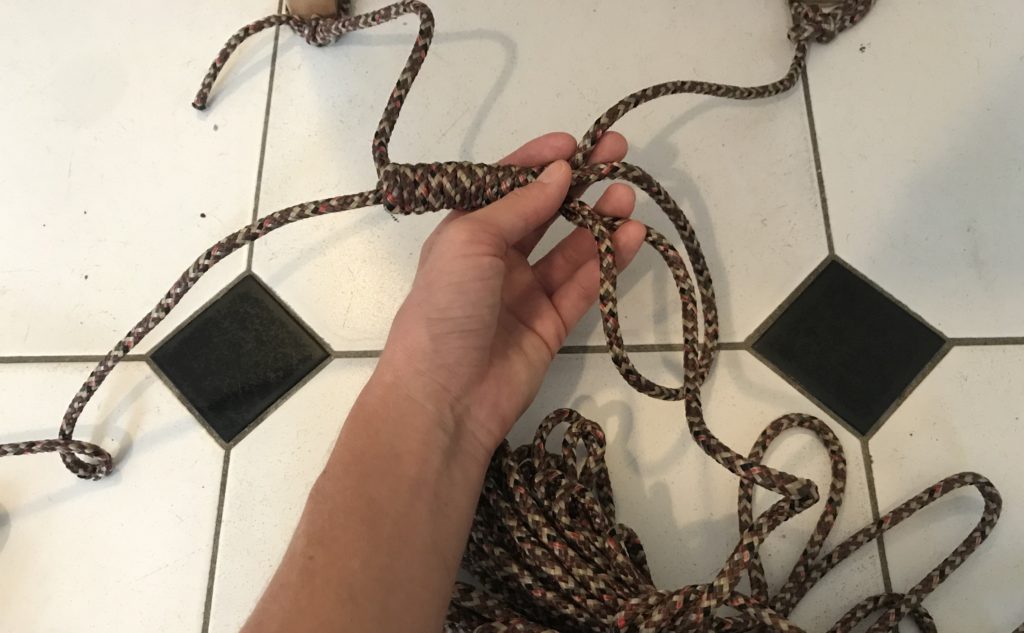
- With the rope on the right (blue elastic), make an “S” shape and finish with the slack end resting to the left. Pass the other rope (red elastic) over the first segment in the “S” and then under the other two segments.
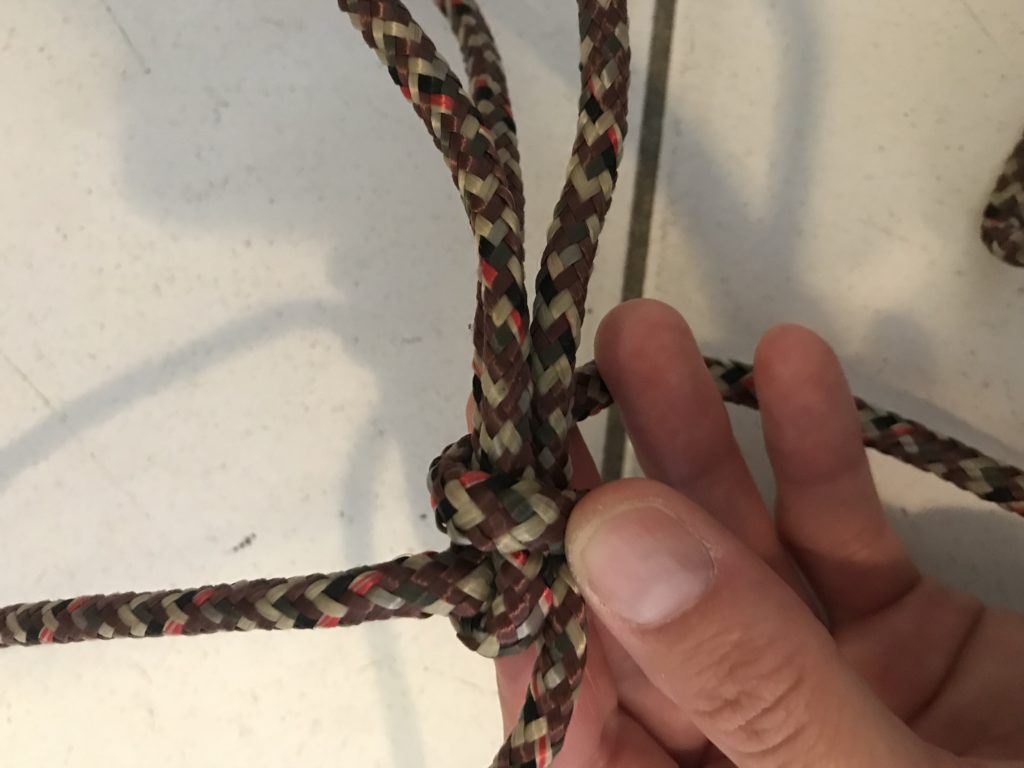
- Hold the left side of the “S” and wrap the rope that’s now on the right side (red elastic) over all three sections of the “S” and keep it taut.
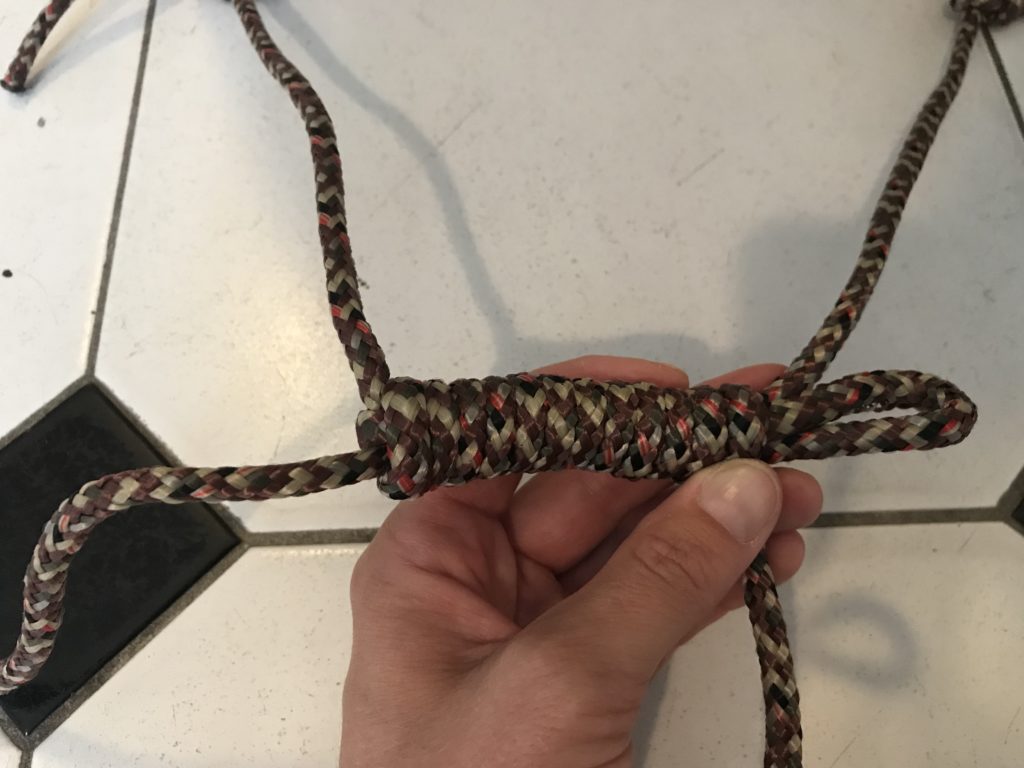
- Continue wrapping this rope around the “S” until you’ve reached the desired width of a rung. Keep track of how many wraps you do, as you’ll want to keep in consistent for each rung. Remember to keep the wraps tight.
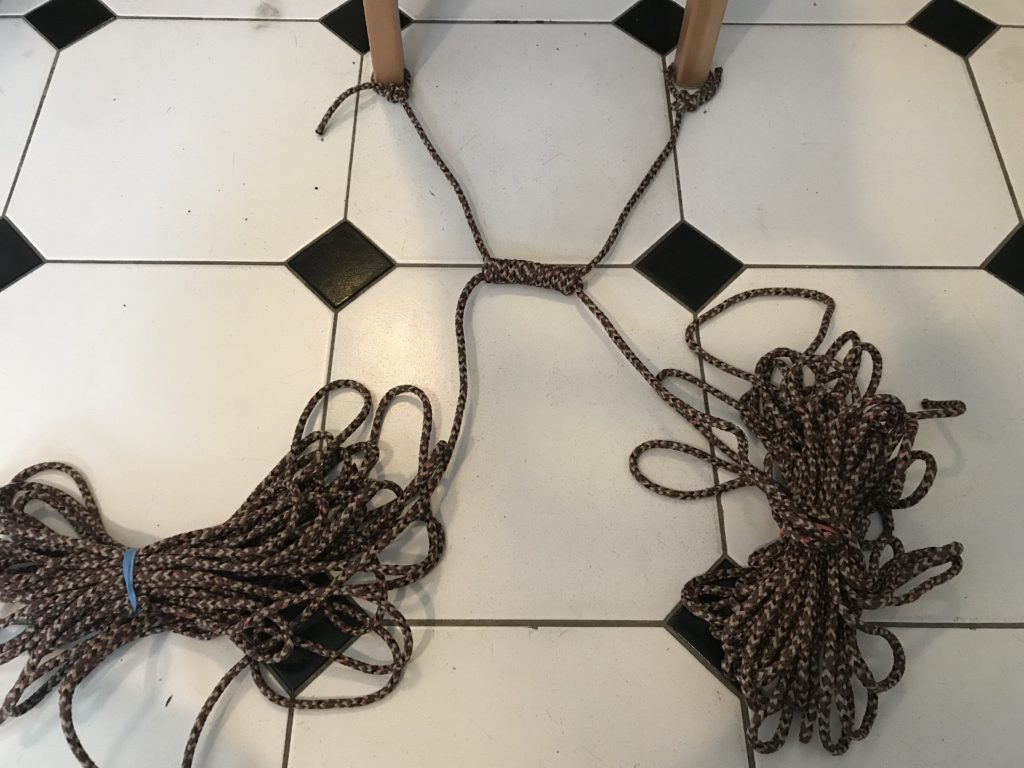
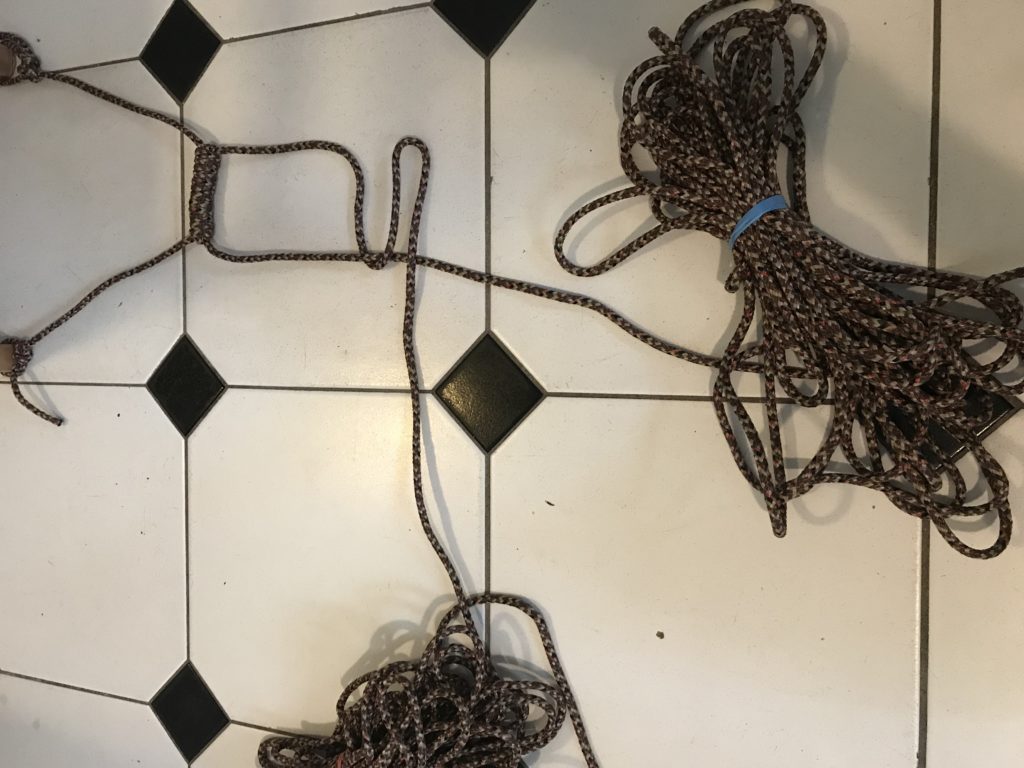
- Loosen your lower curve of the “S” so it’s wide enough to pass your rope bundle through, from the top through the curve, then pull the curve tight by pulling the rope on the left side at the bottom. Pull the rope from the bottom left side to tighten the “S” and complete the rung.
- Repeat steps 3 through 7 until your rope is the desired length.
- Finish the ends with bowline knots for easy hanging. Your enrichment rope ladder is ready to go!
Step 2 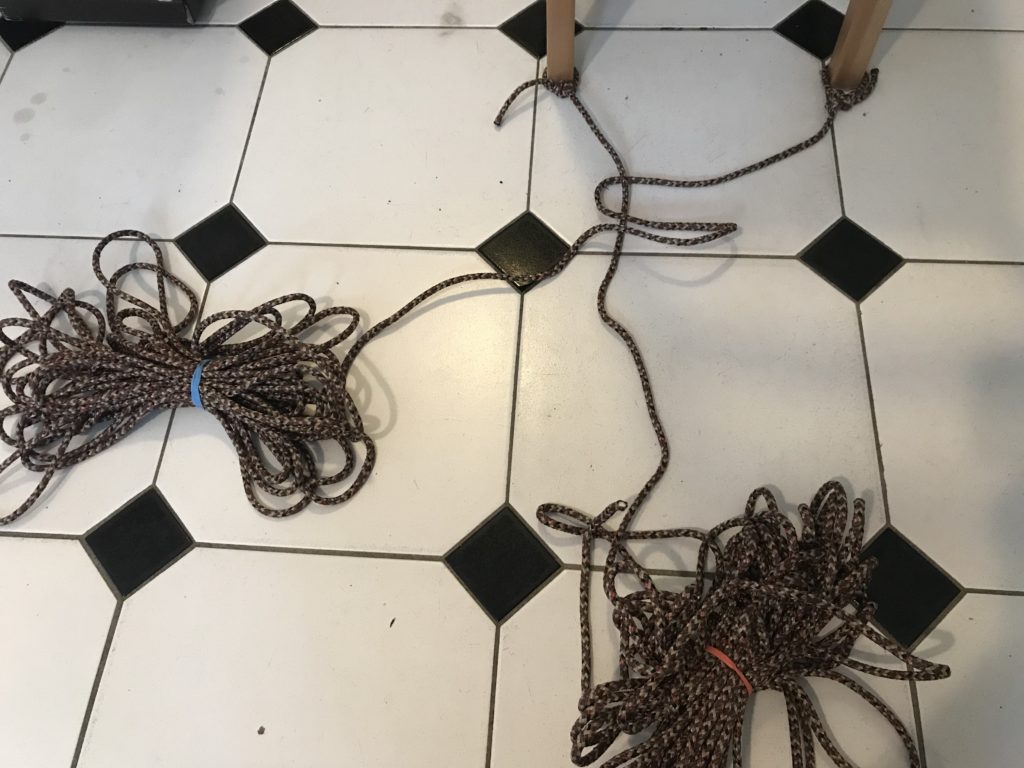
Step 3 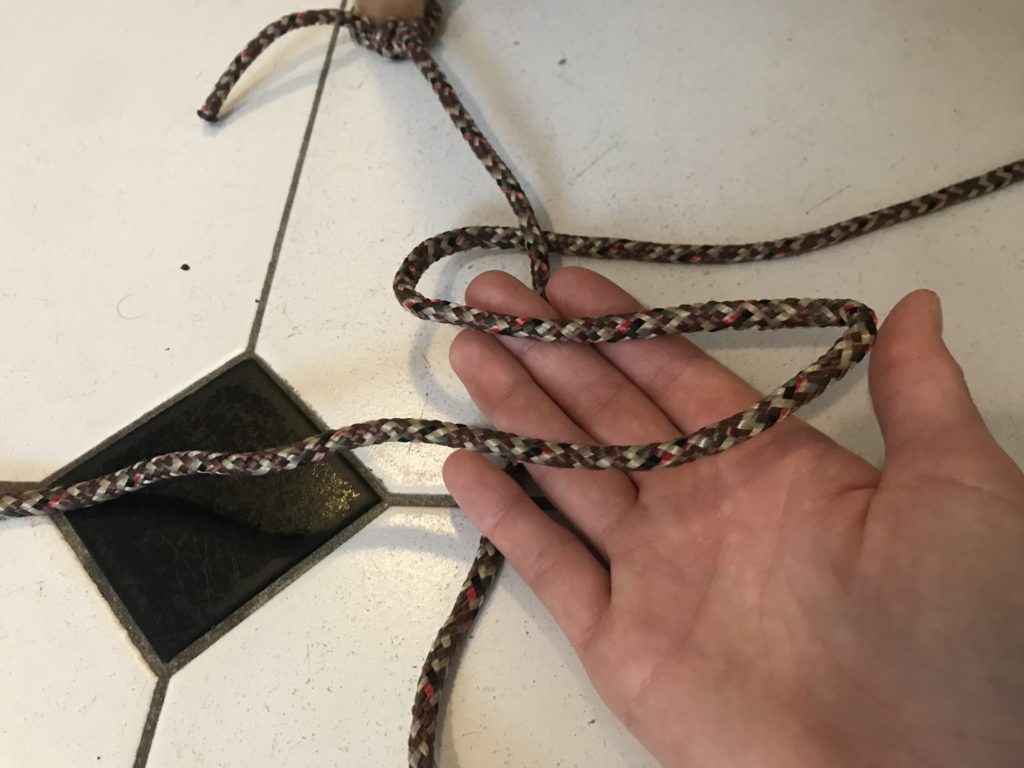
Step 4 
Step 5 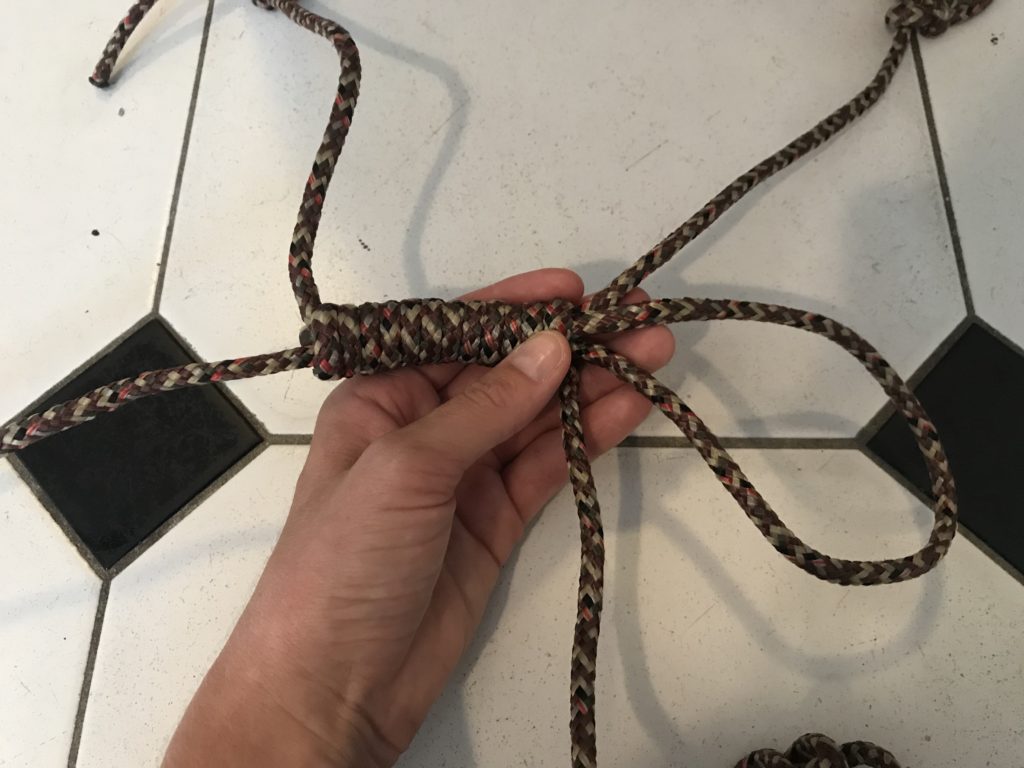
Step 6 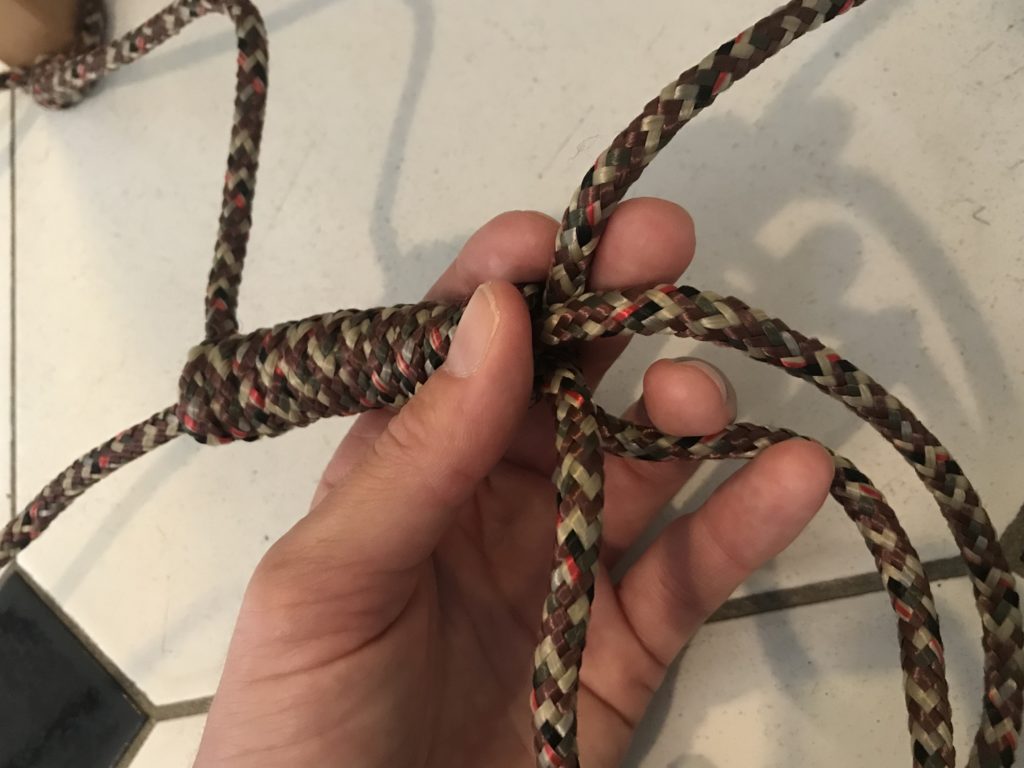

Tips/ Comments
Use a bowline (or another) knot to tie the ends, so you can secure them to something before you start. See photos for step-by-step instructions of how to create a bowline knot.
Rather than feeding a very lengthy rope through the loop each time, bundle it with an elastic or something, make the loop extra wide to fit the bundle through, then tighten by pulling to rope from the left side.
Making a Bowline Knot:
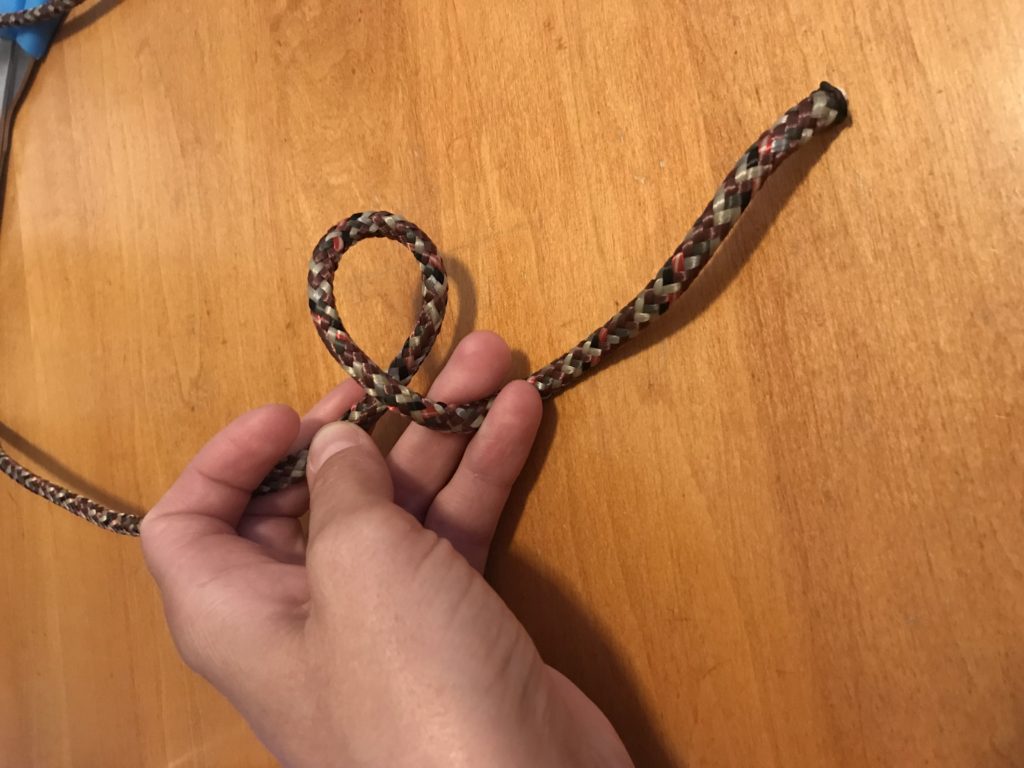
Step 1 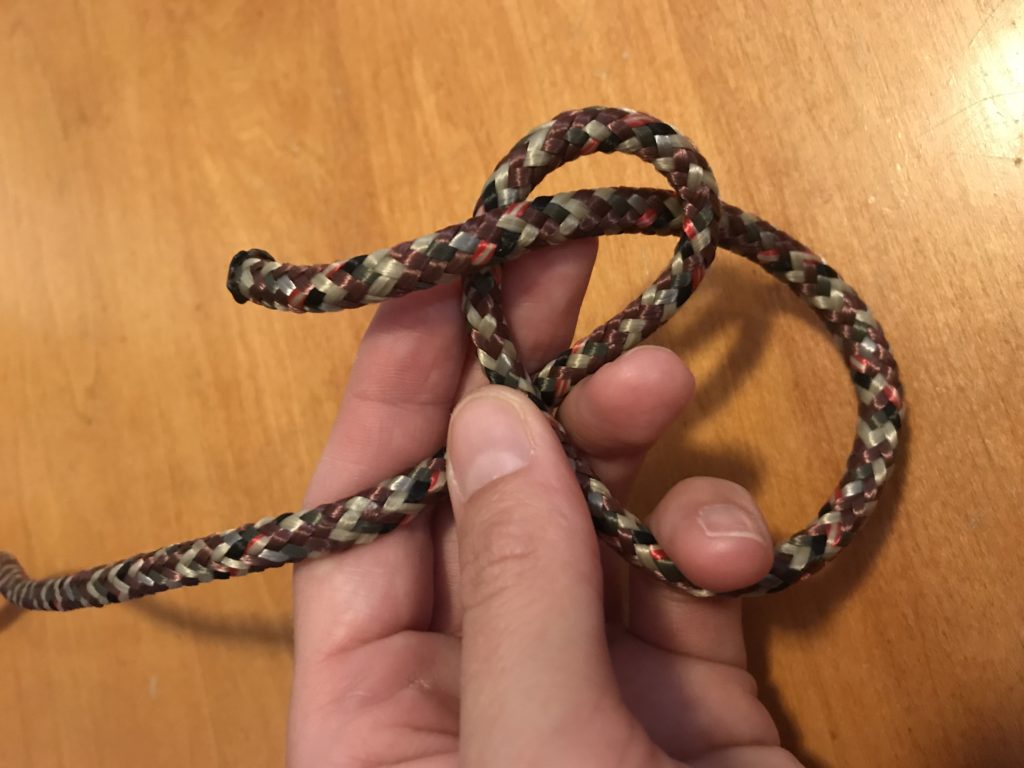
Step 2 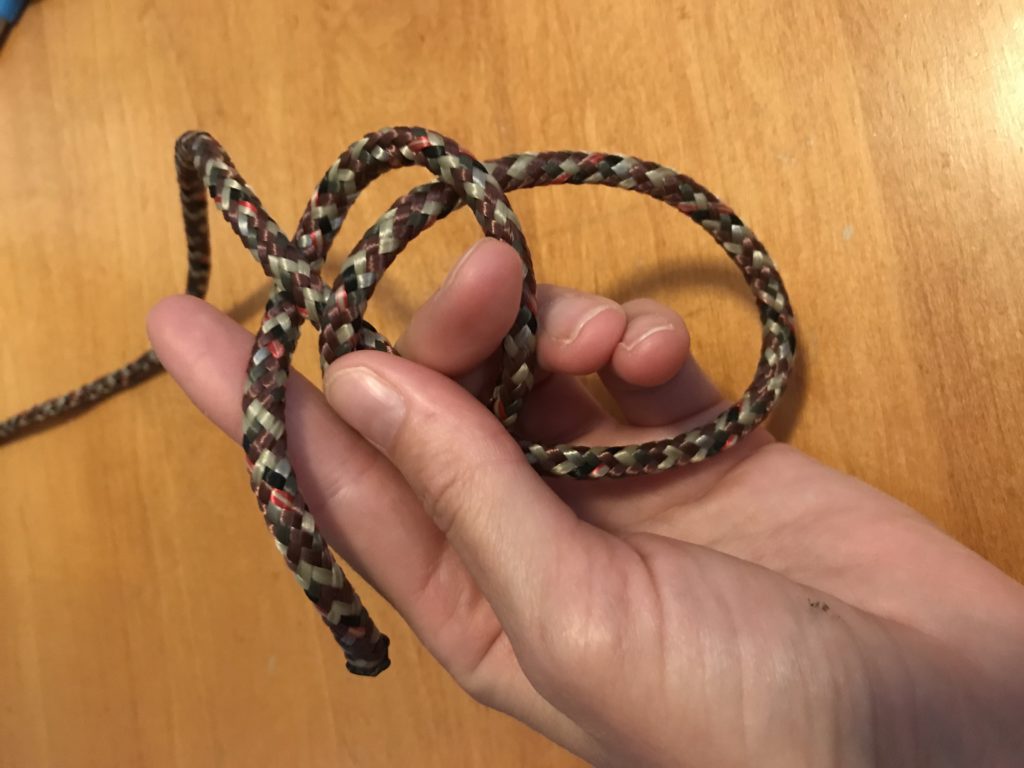
Step 3 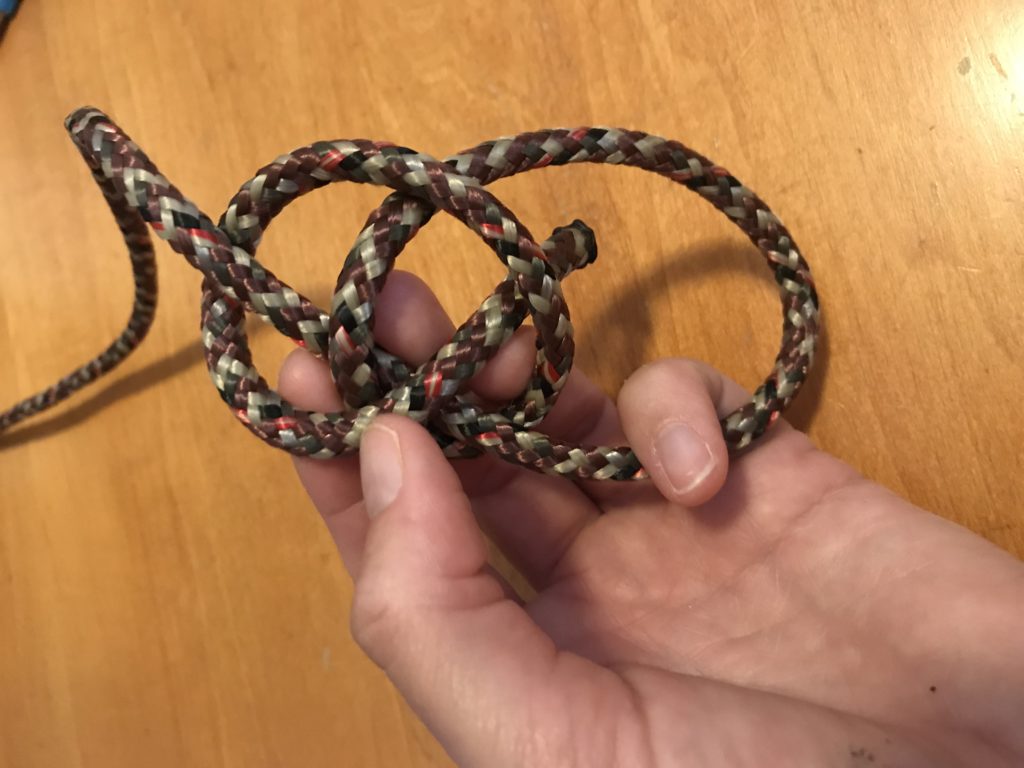
Step 4 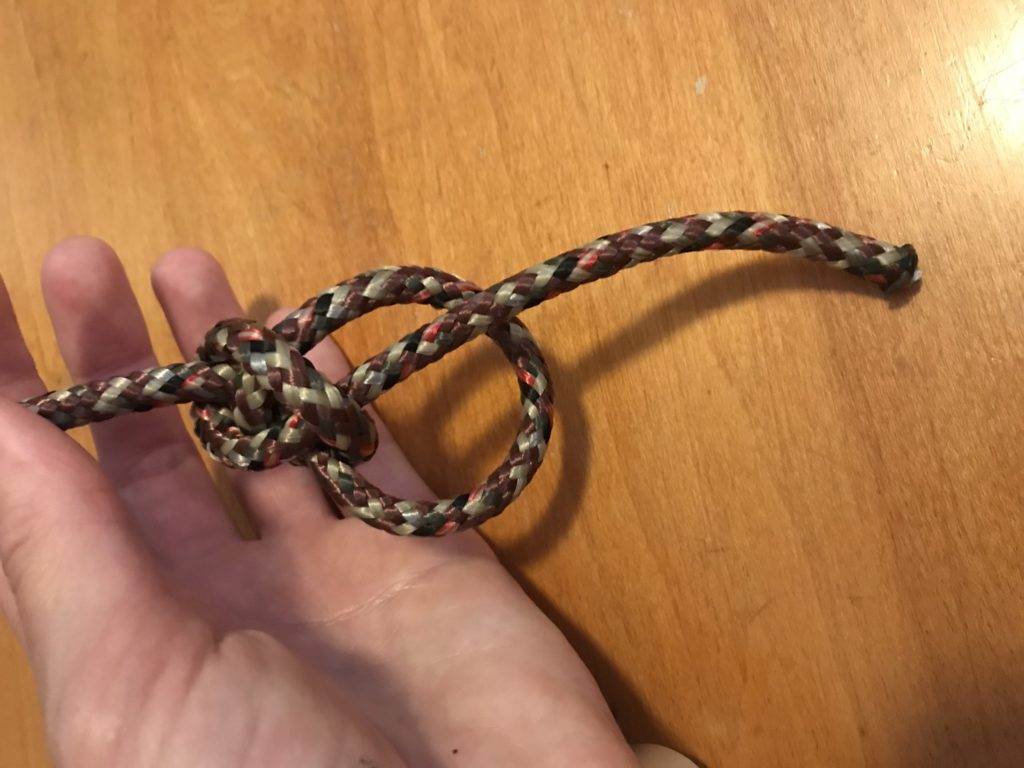
Step 5 
Step 6
Have some leftover rope? Try making this really cool rope ladder perch!
Thank you so much for sharing 😀 I’m at the moment volunteering at a sanctuary in Indonesia and got so much inspiration from your posts.